When i started this blog it was supposed to follow the story roughly speaking of where we got where we are, and then very conveniently dovetail with now. Then i could keep it more relevant.
But i've dipped in and out of a few things since the last part which was Part 9 - Whats a Bon Accord?
I'll nip away and re-read that to see where i was.
Ok, read it. Sorted. Ready to go.
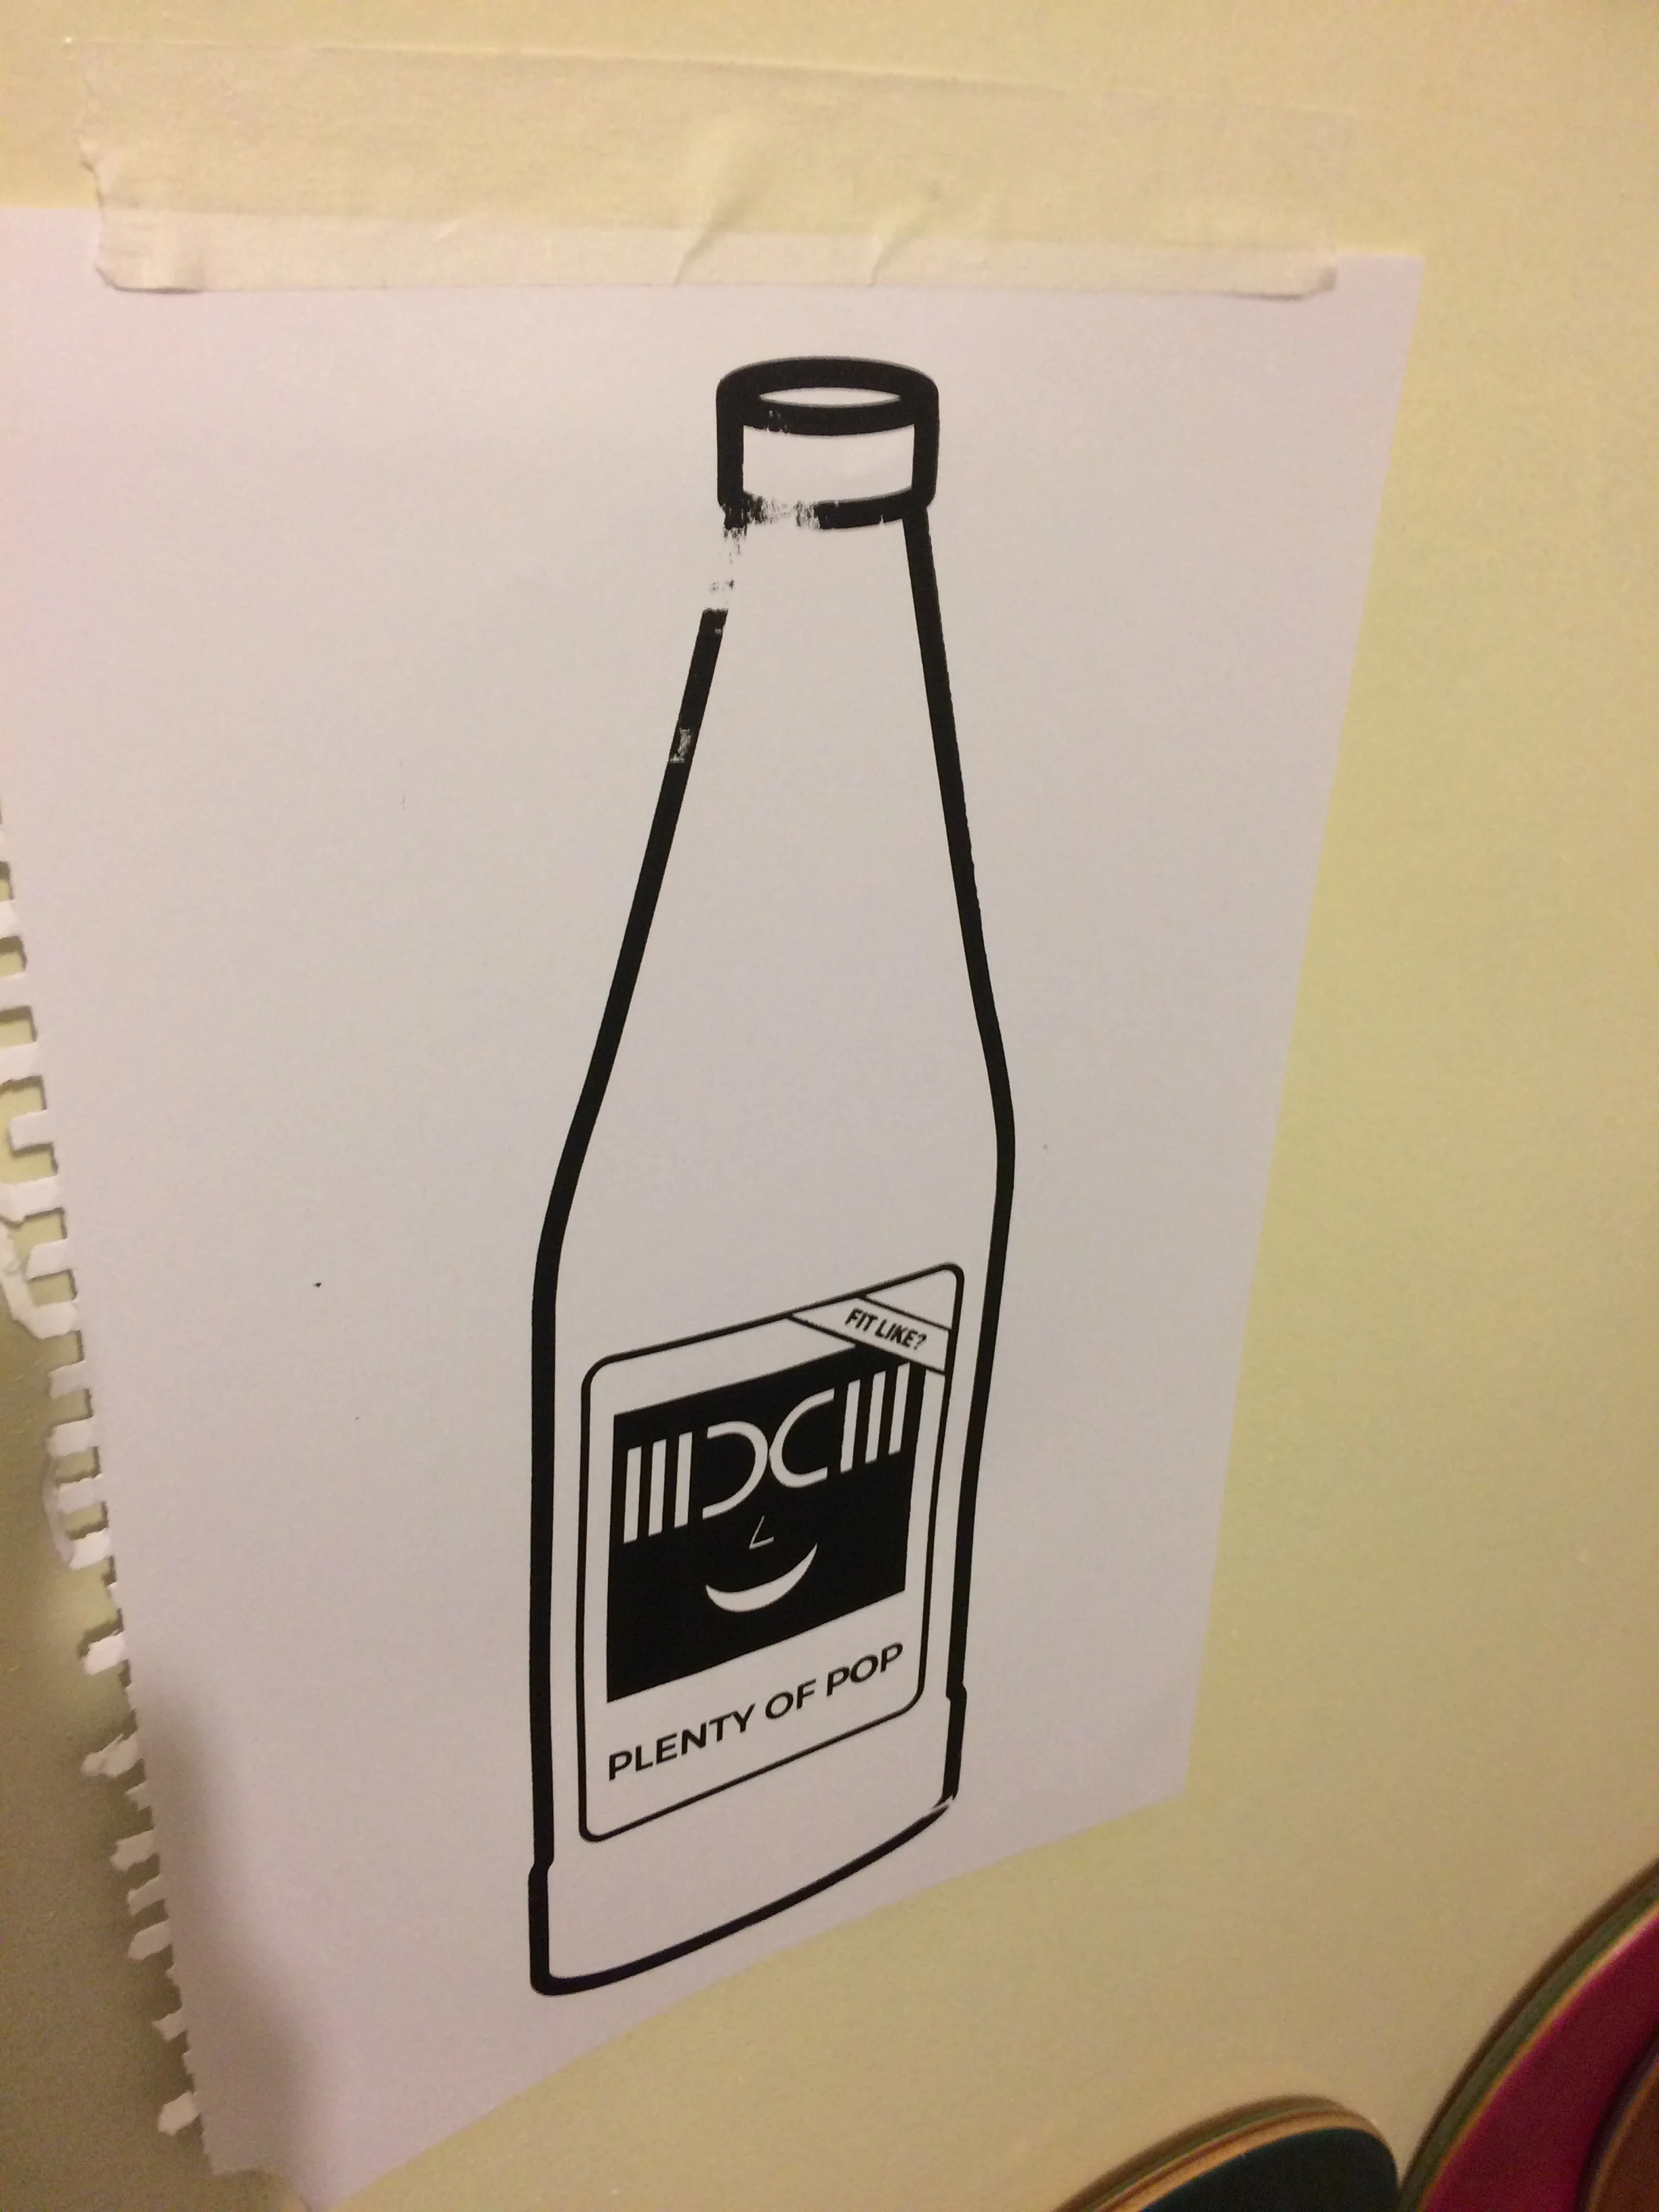
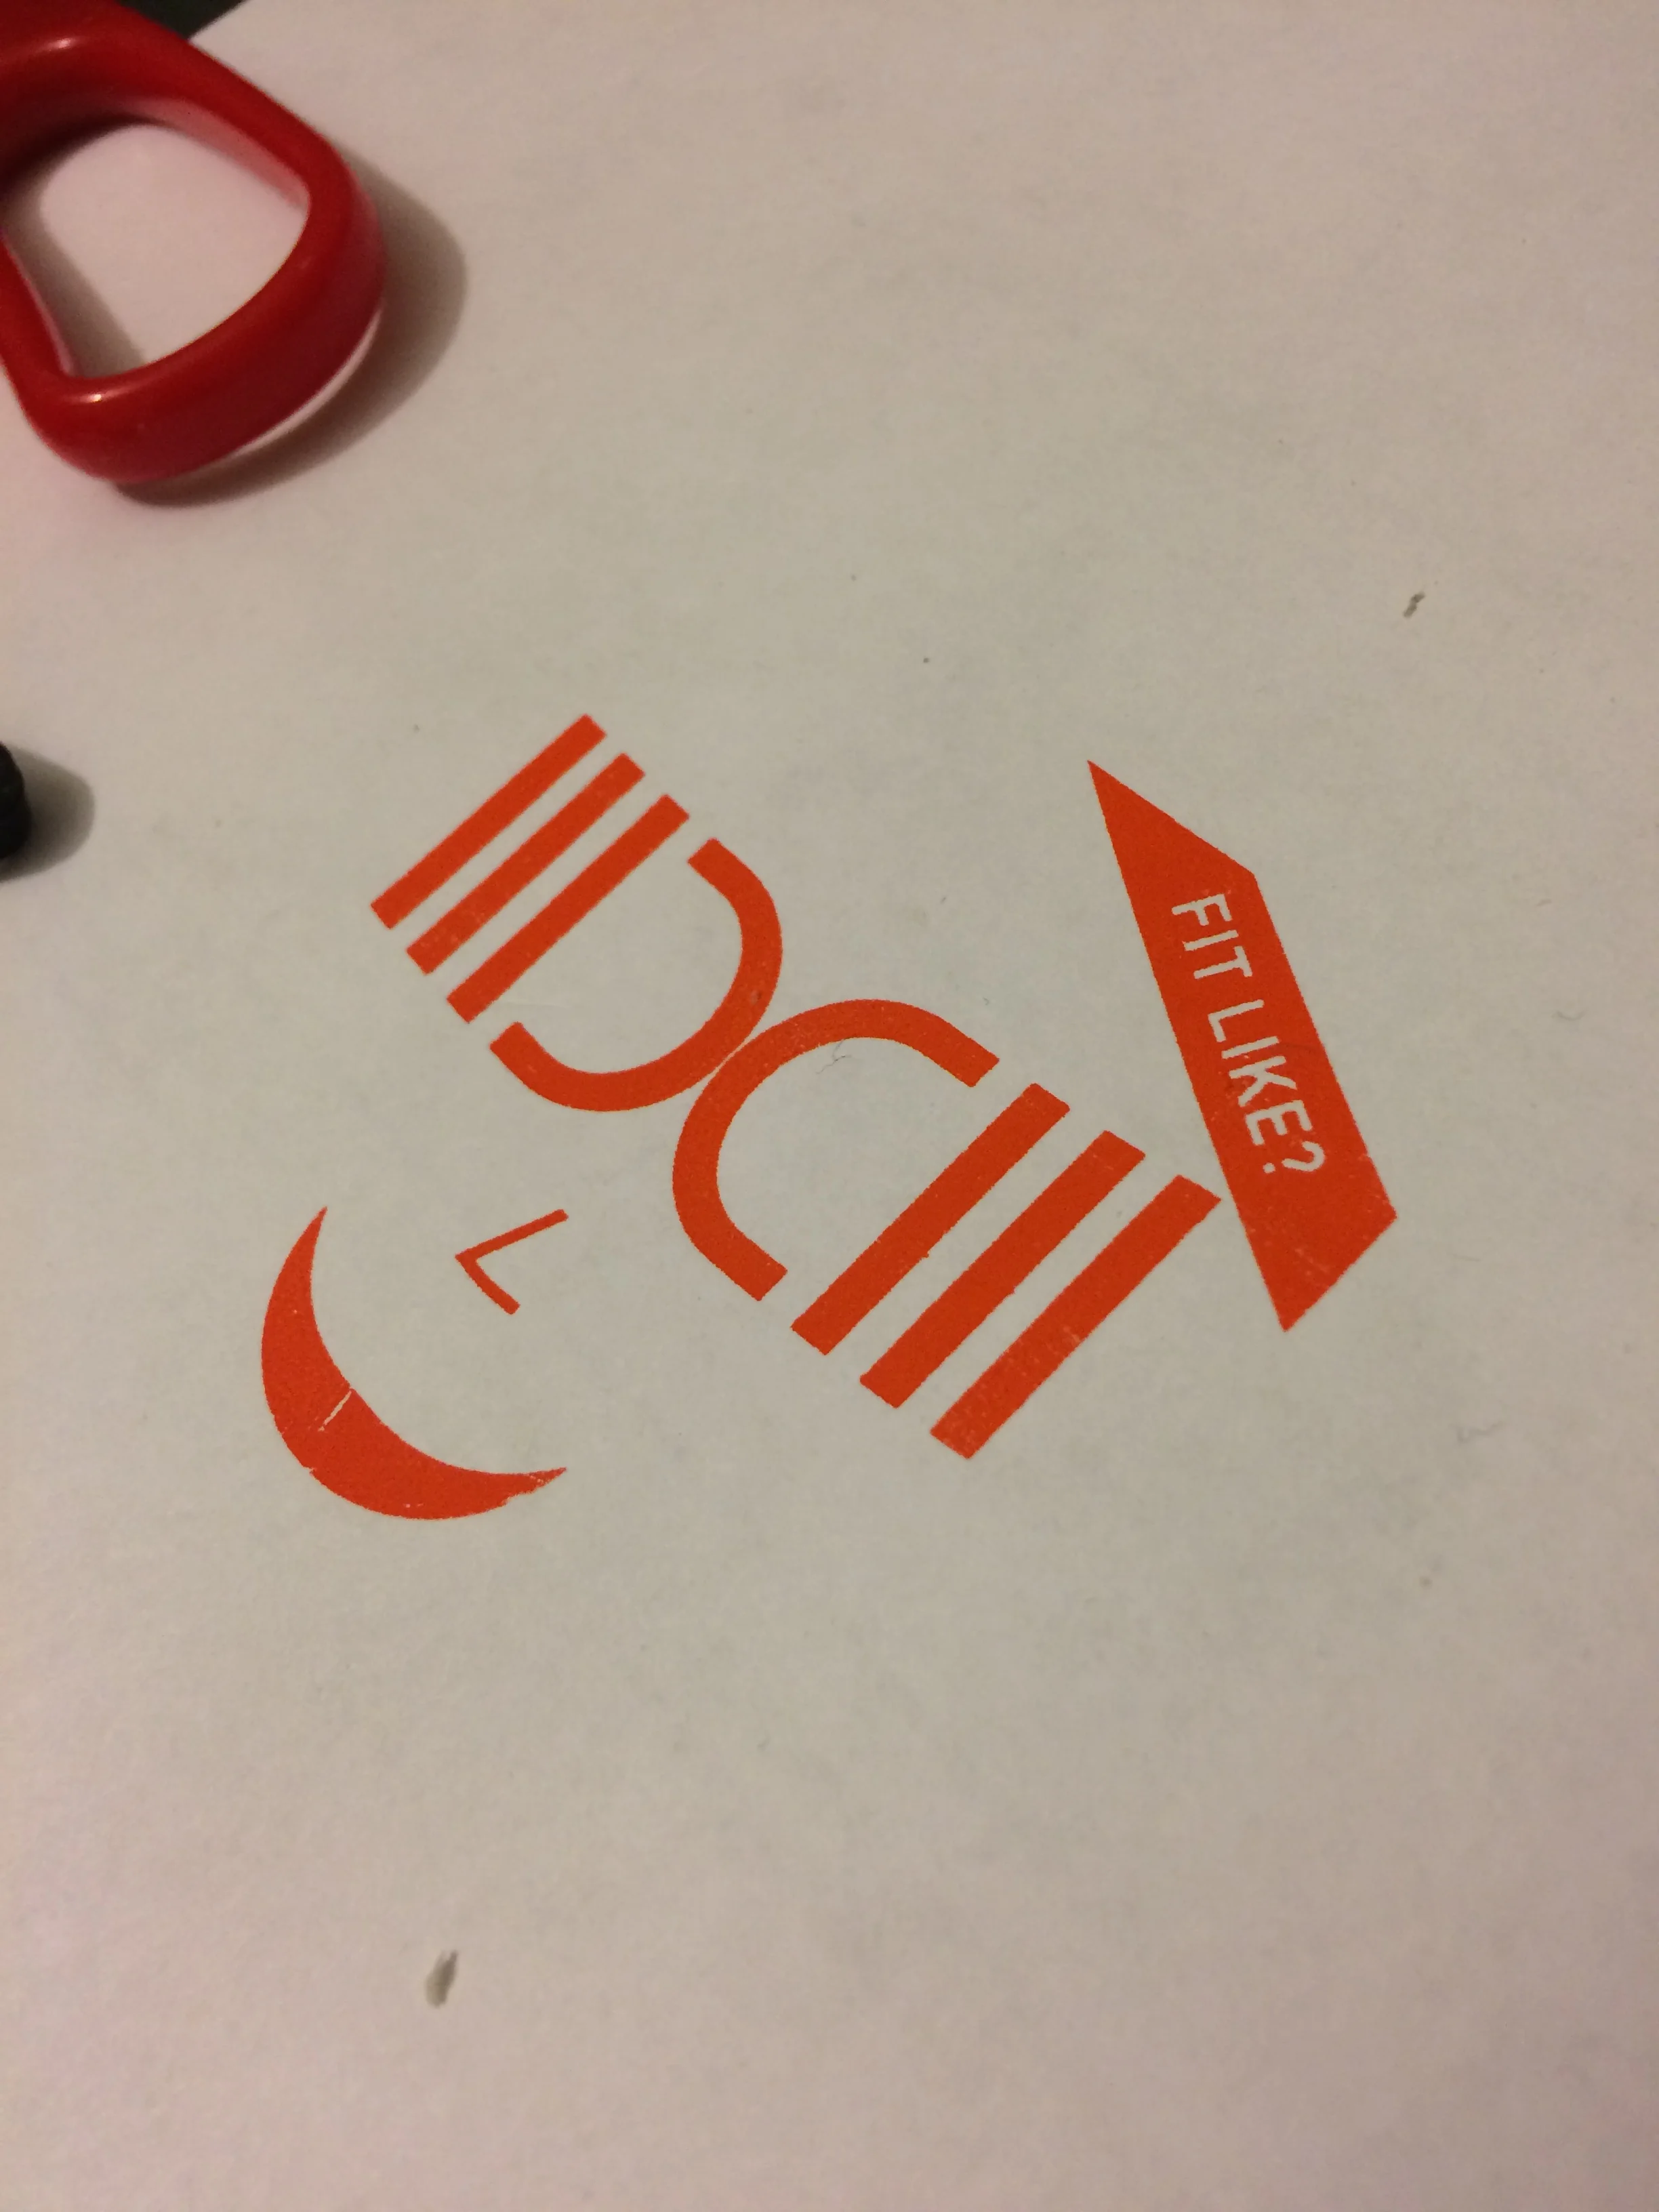
So the design is locked down - kudos to Nicola, my pal Craig and my brother Mark for their input. Worth mentioning here that you very quickly have to accept criticism and suggestions. Sometimes its right! Even though i think its important to have the courage of your convictions - you need to be flexible and honest. If something works better another way - do it.
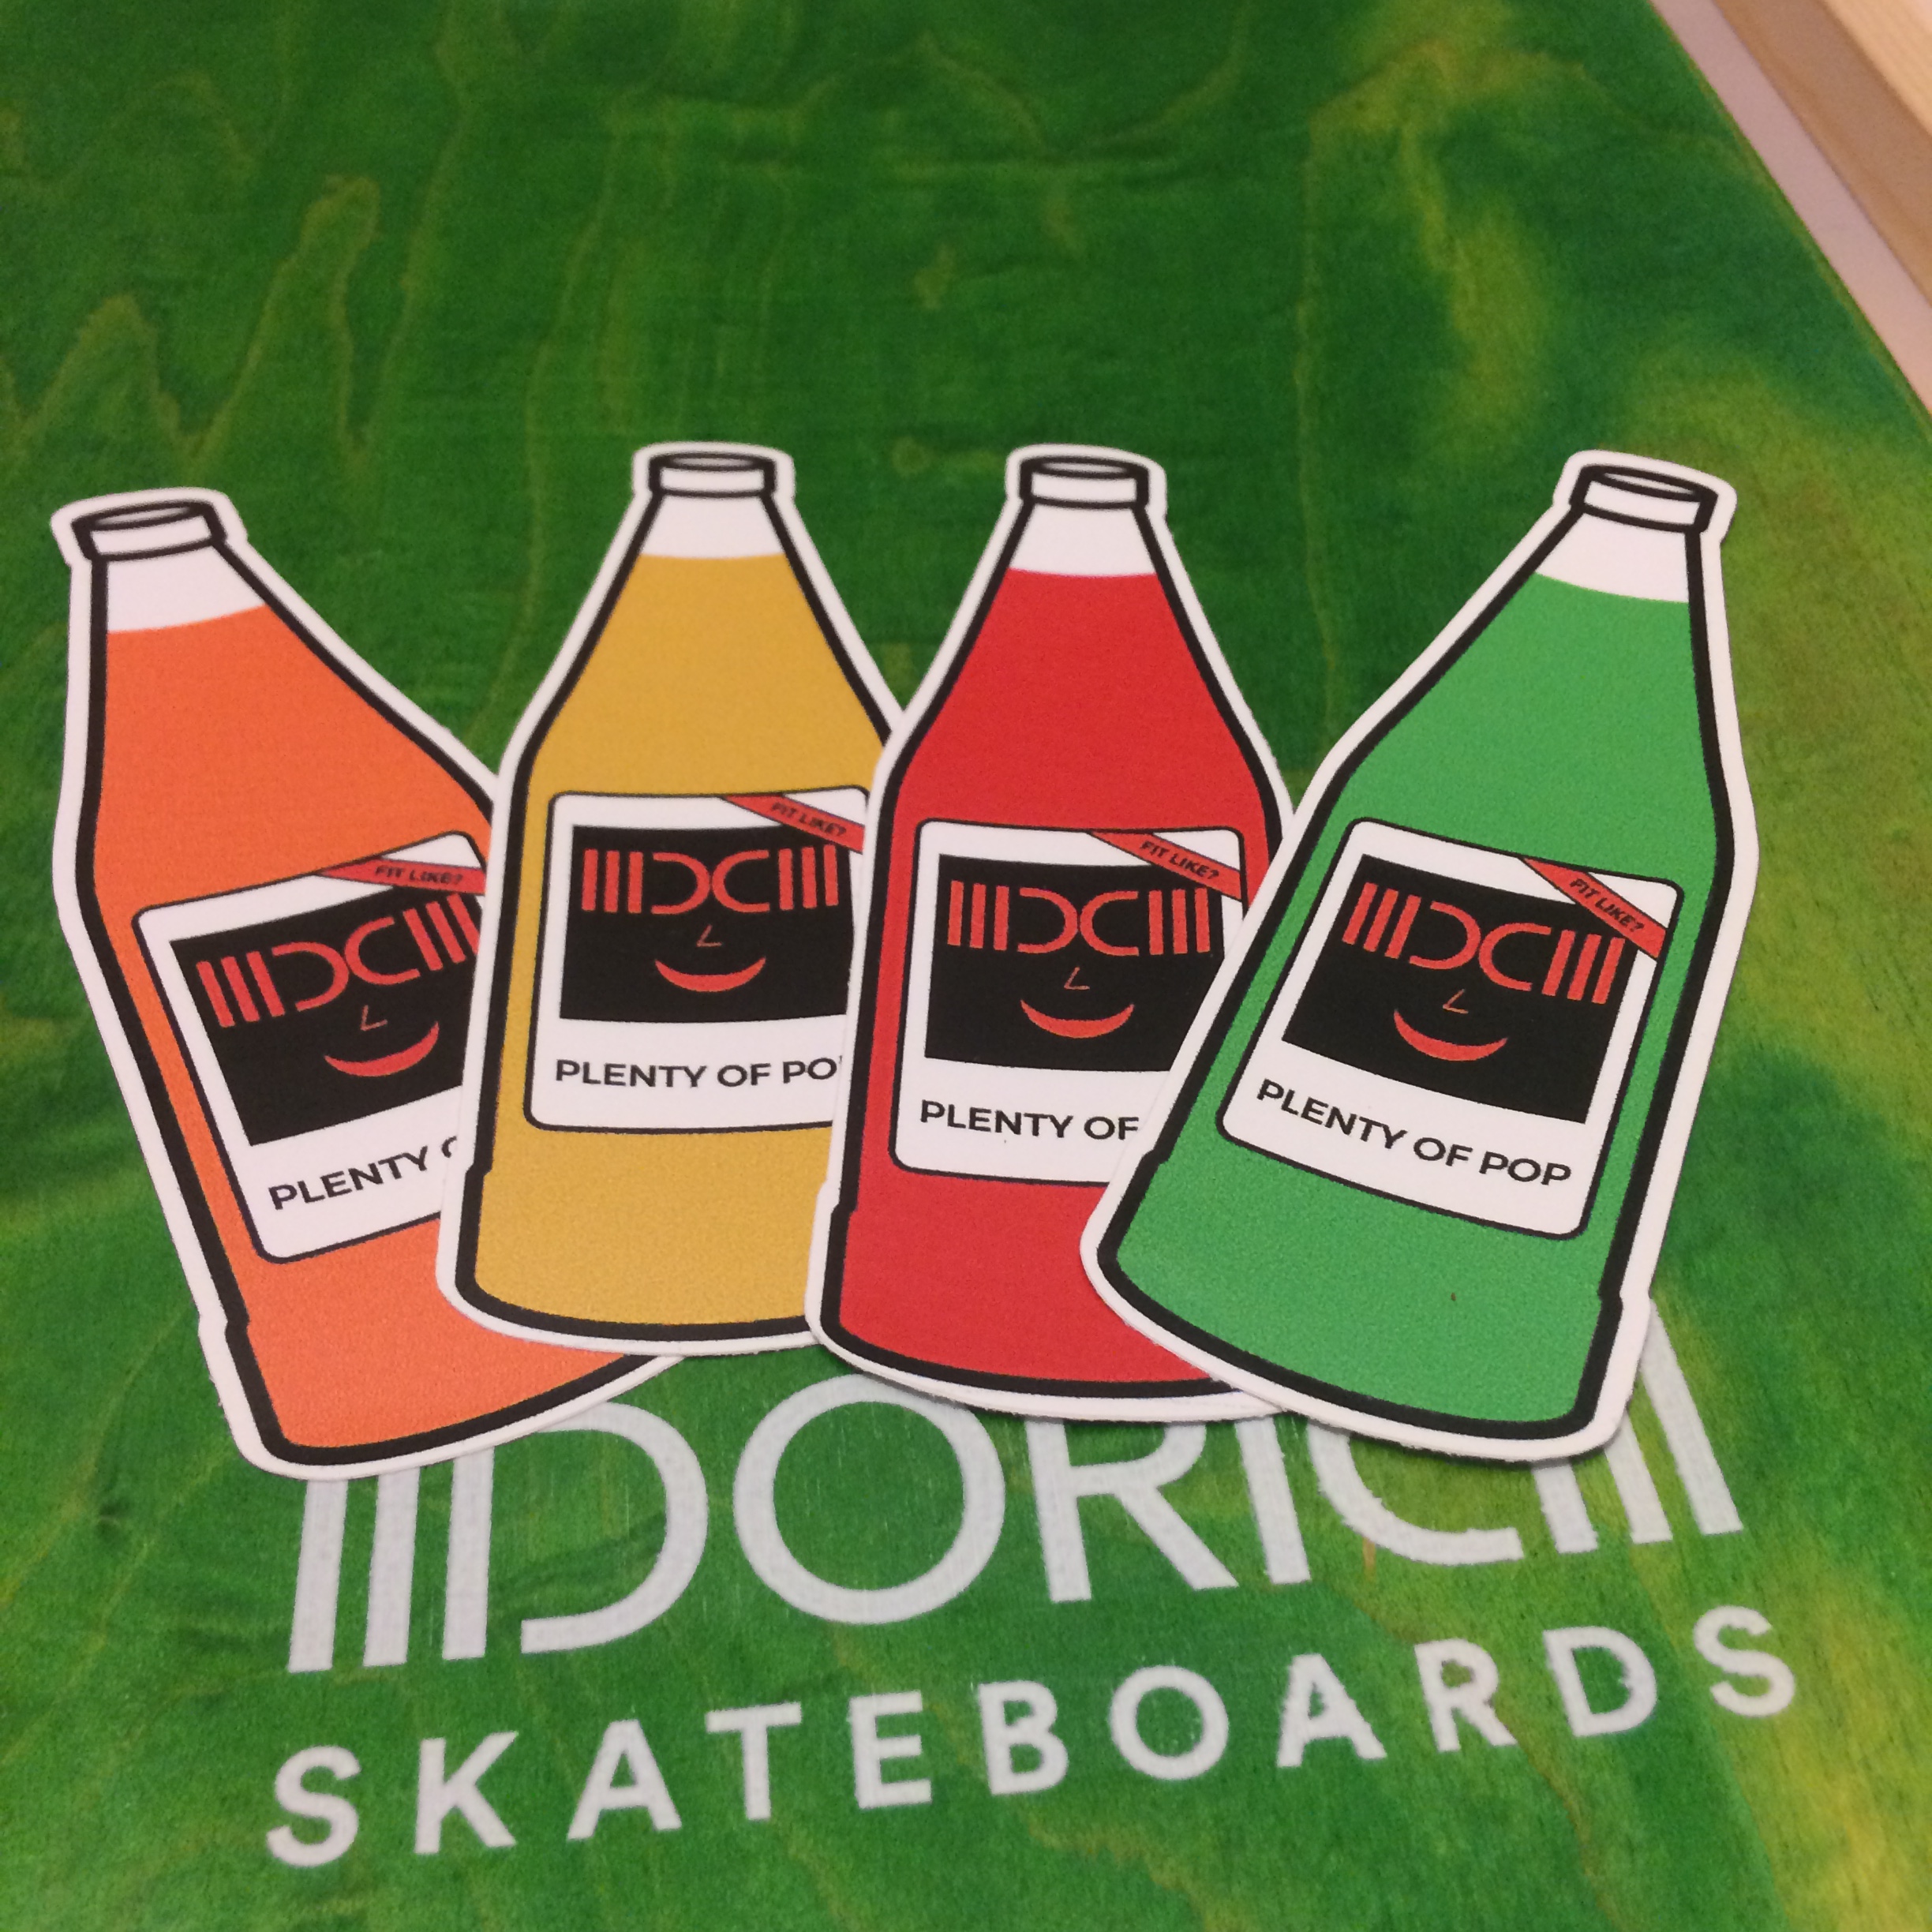
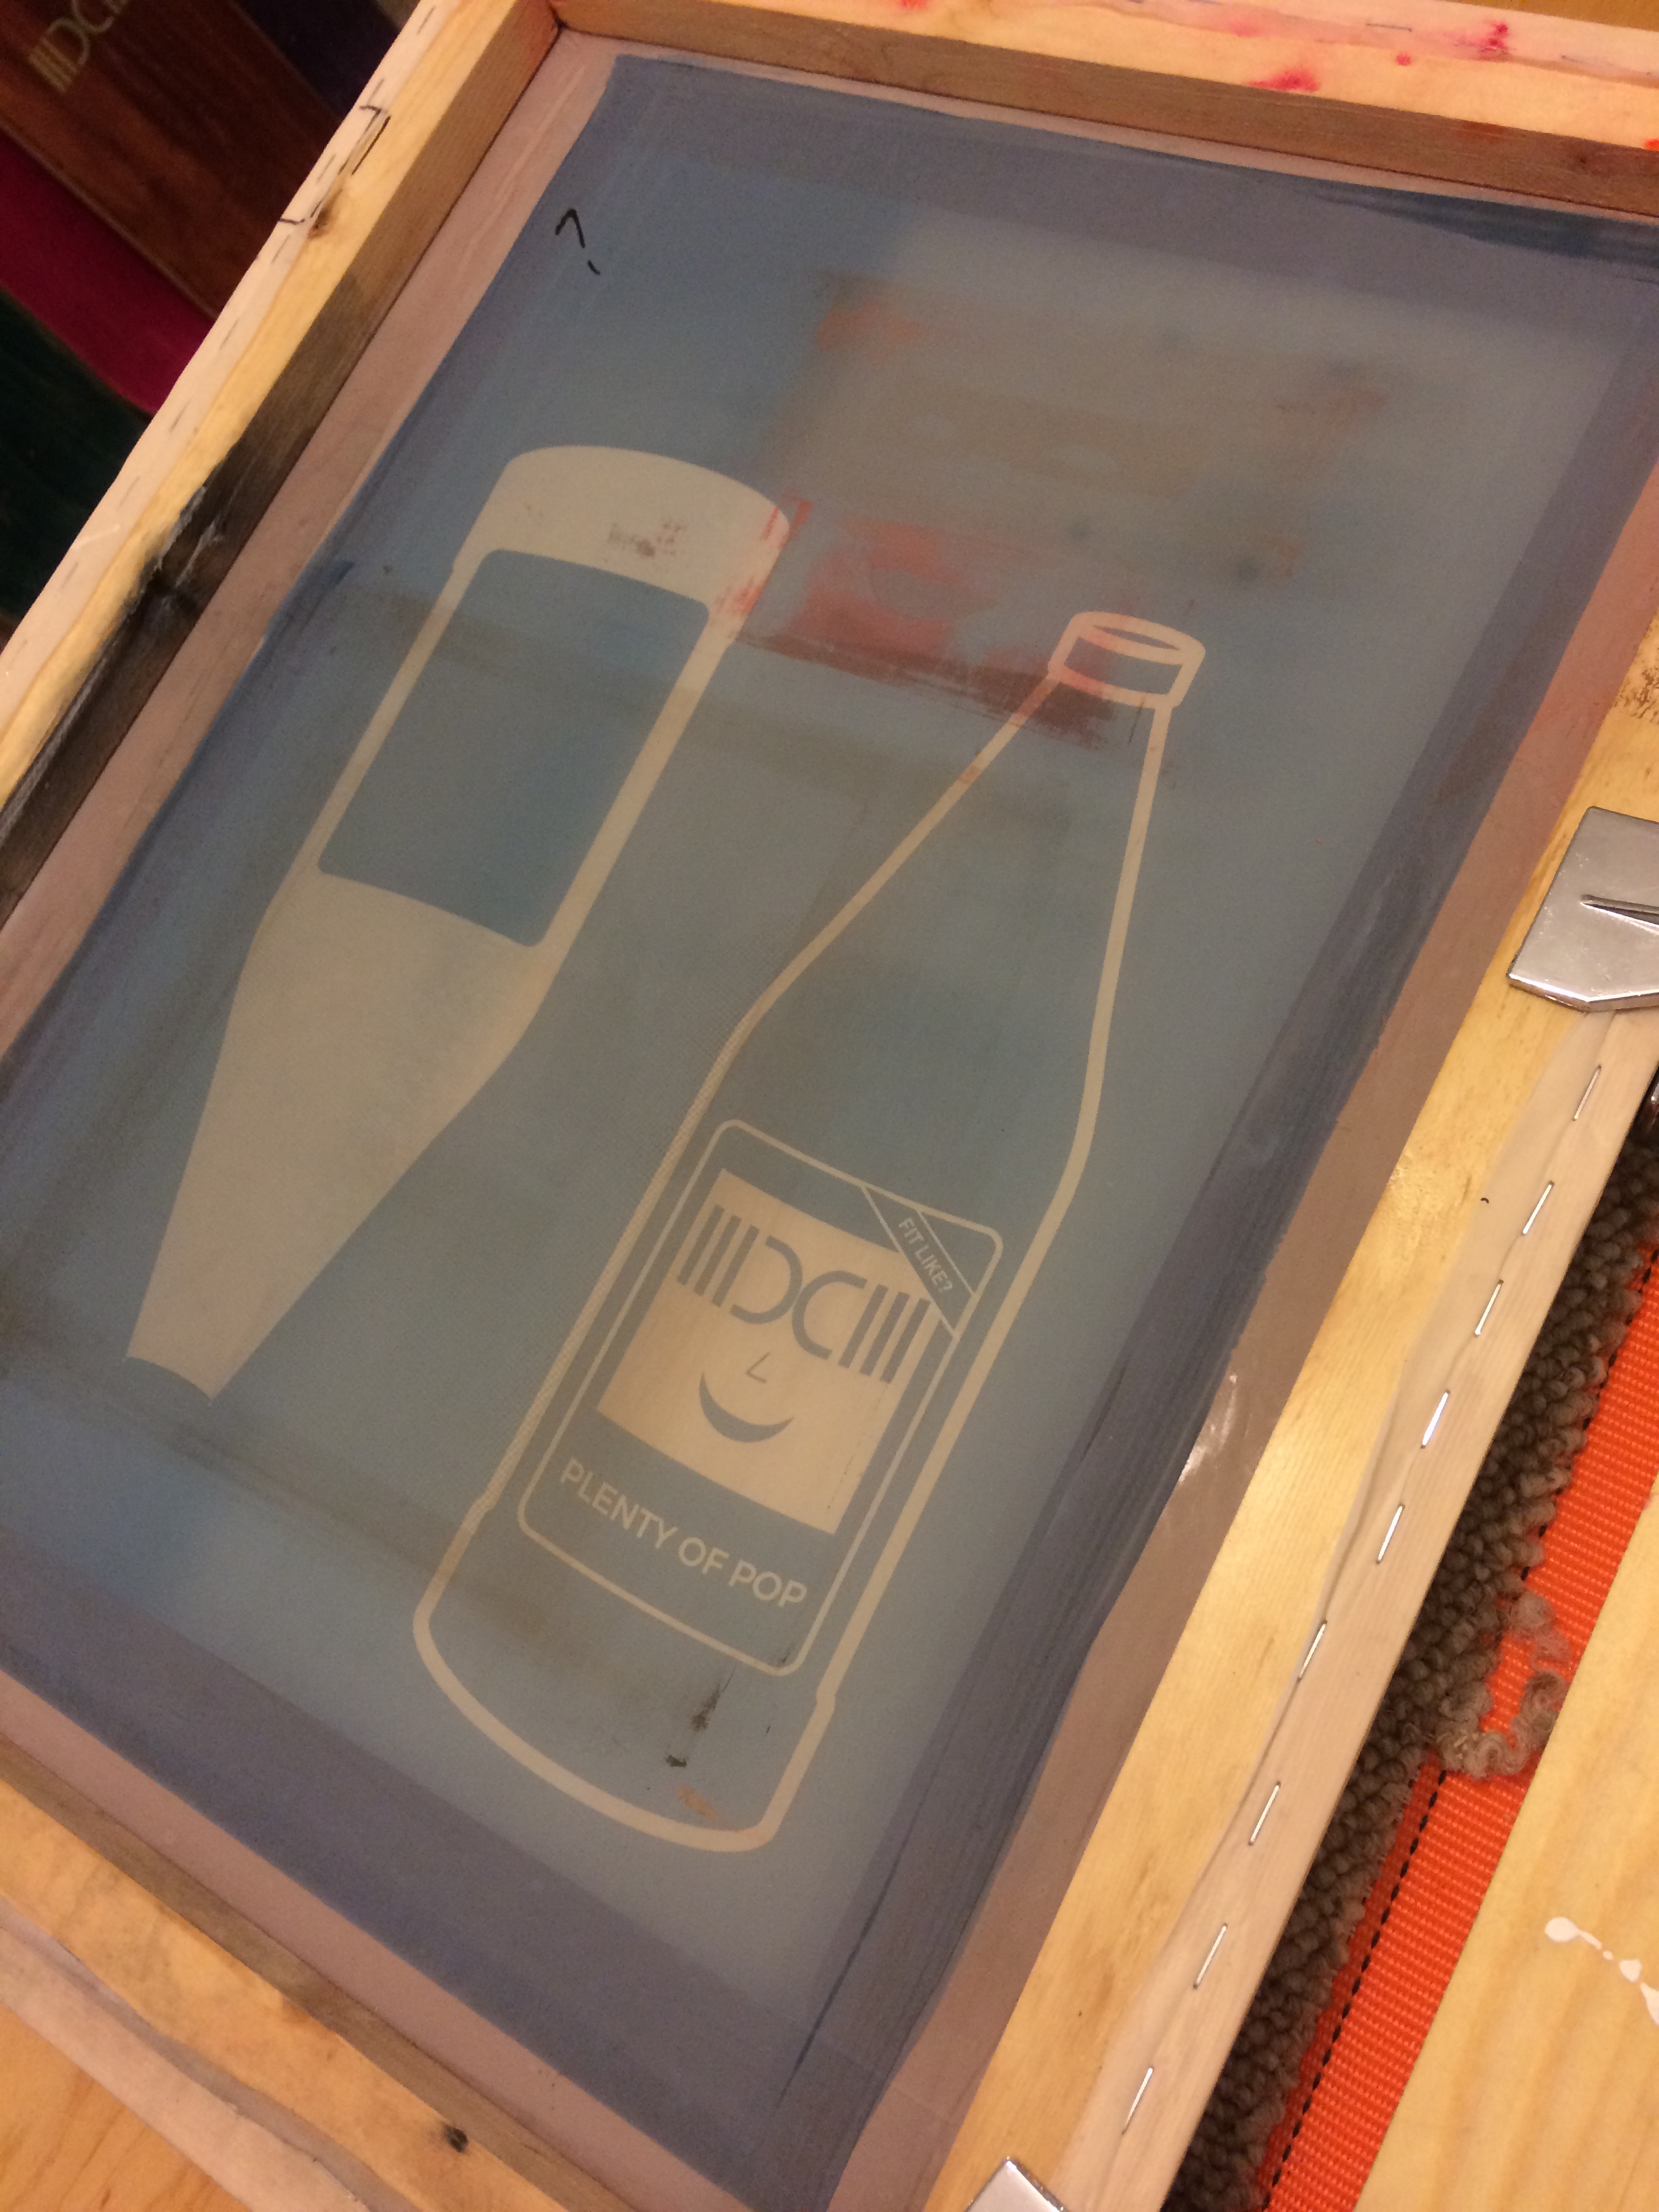
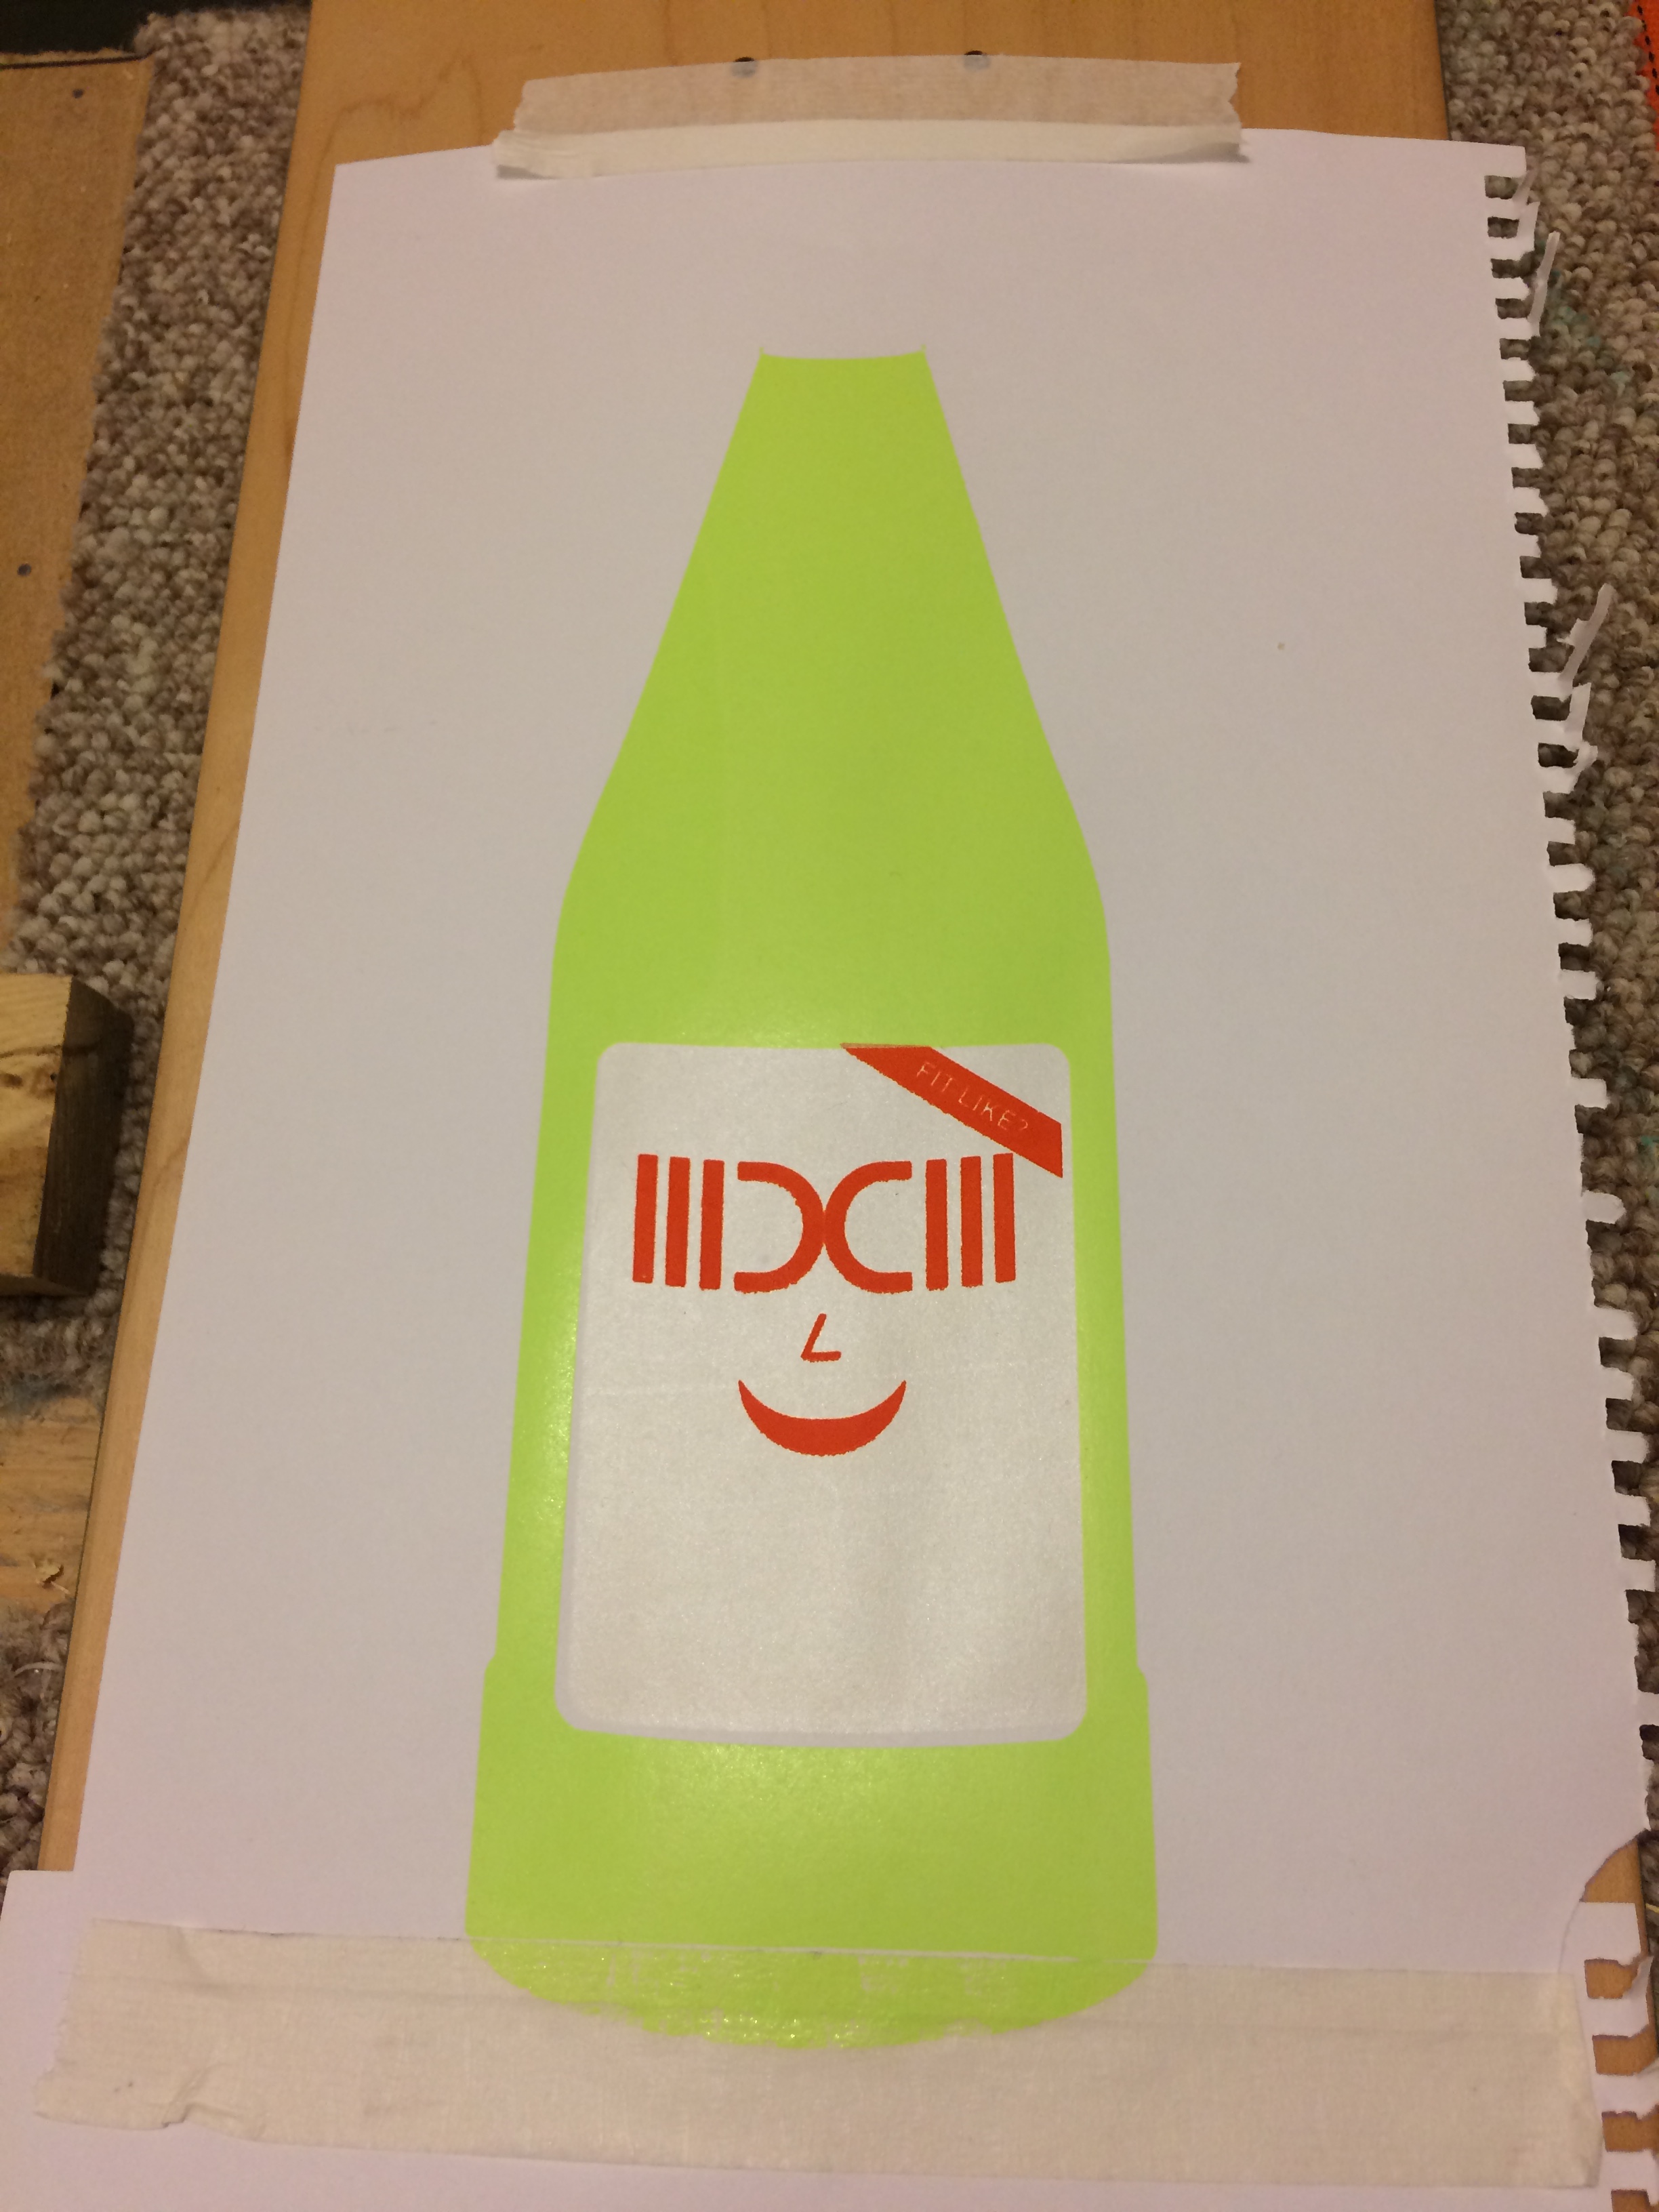
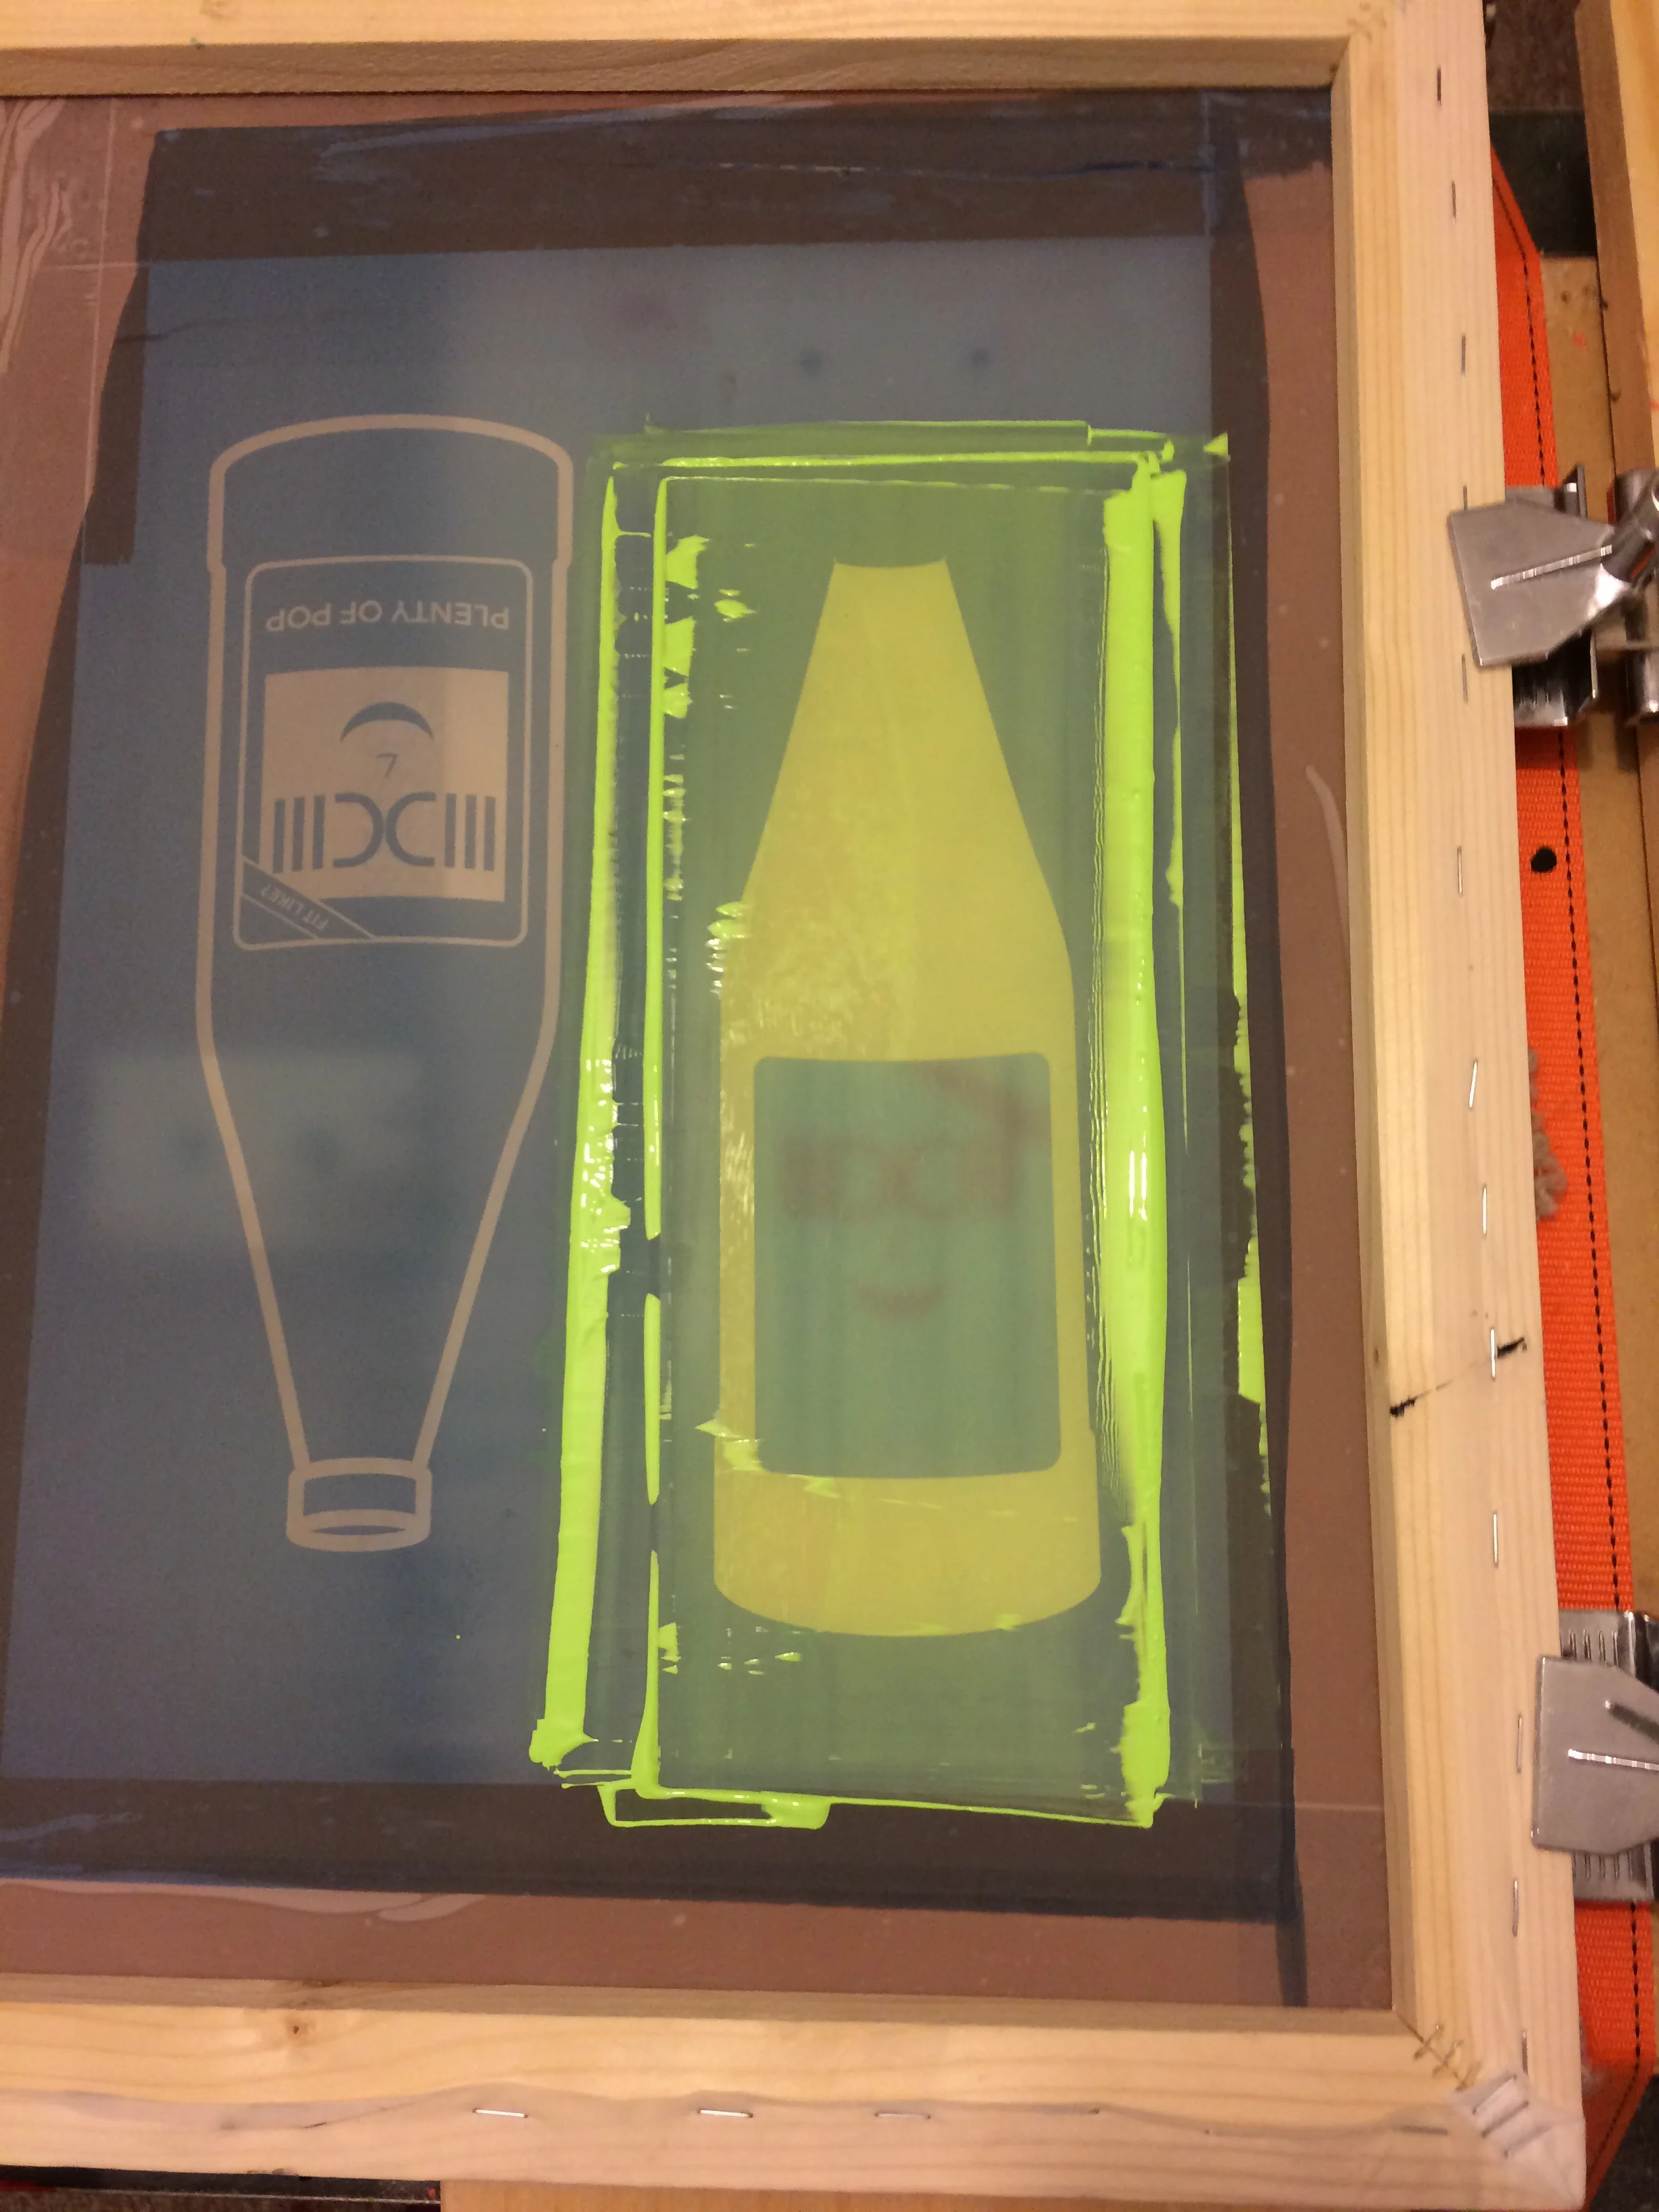
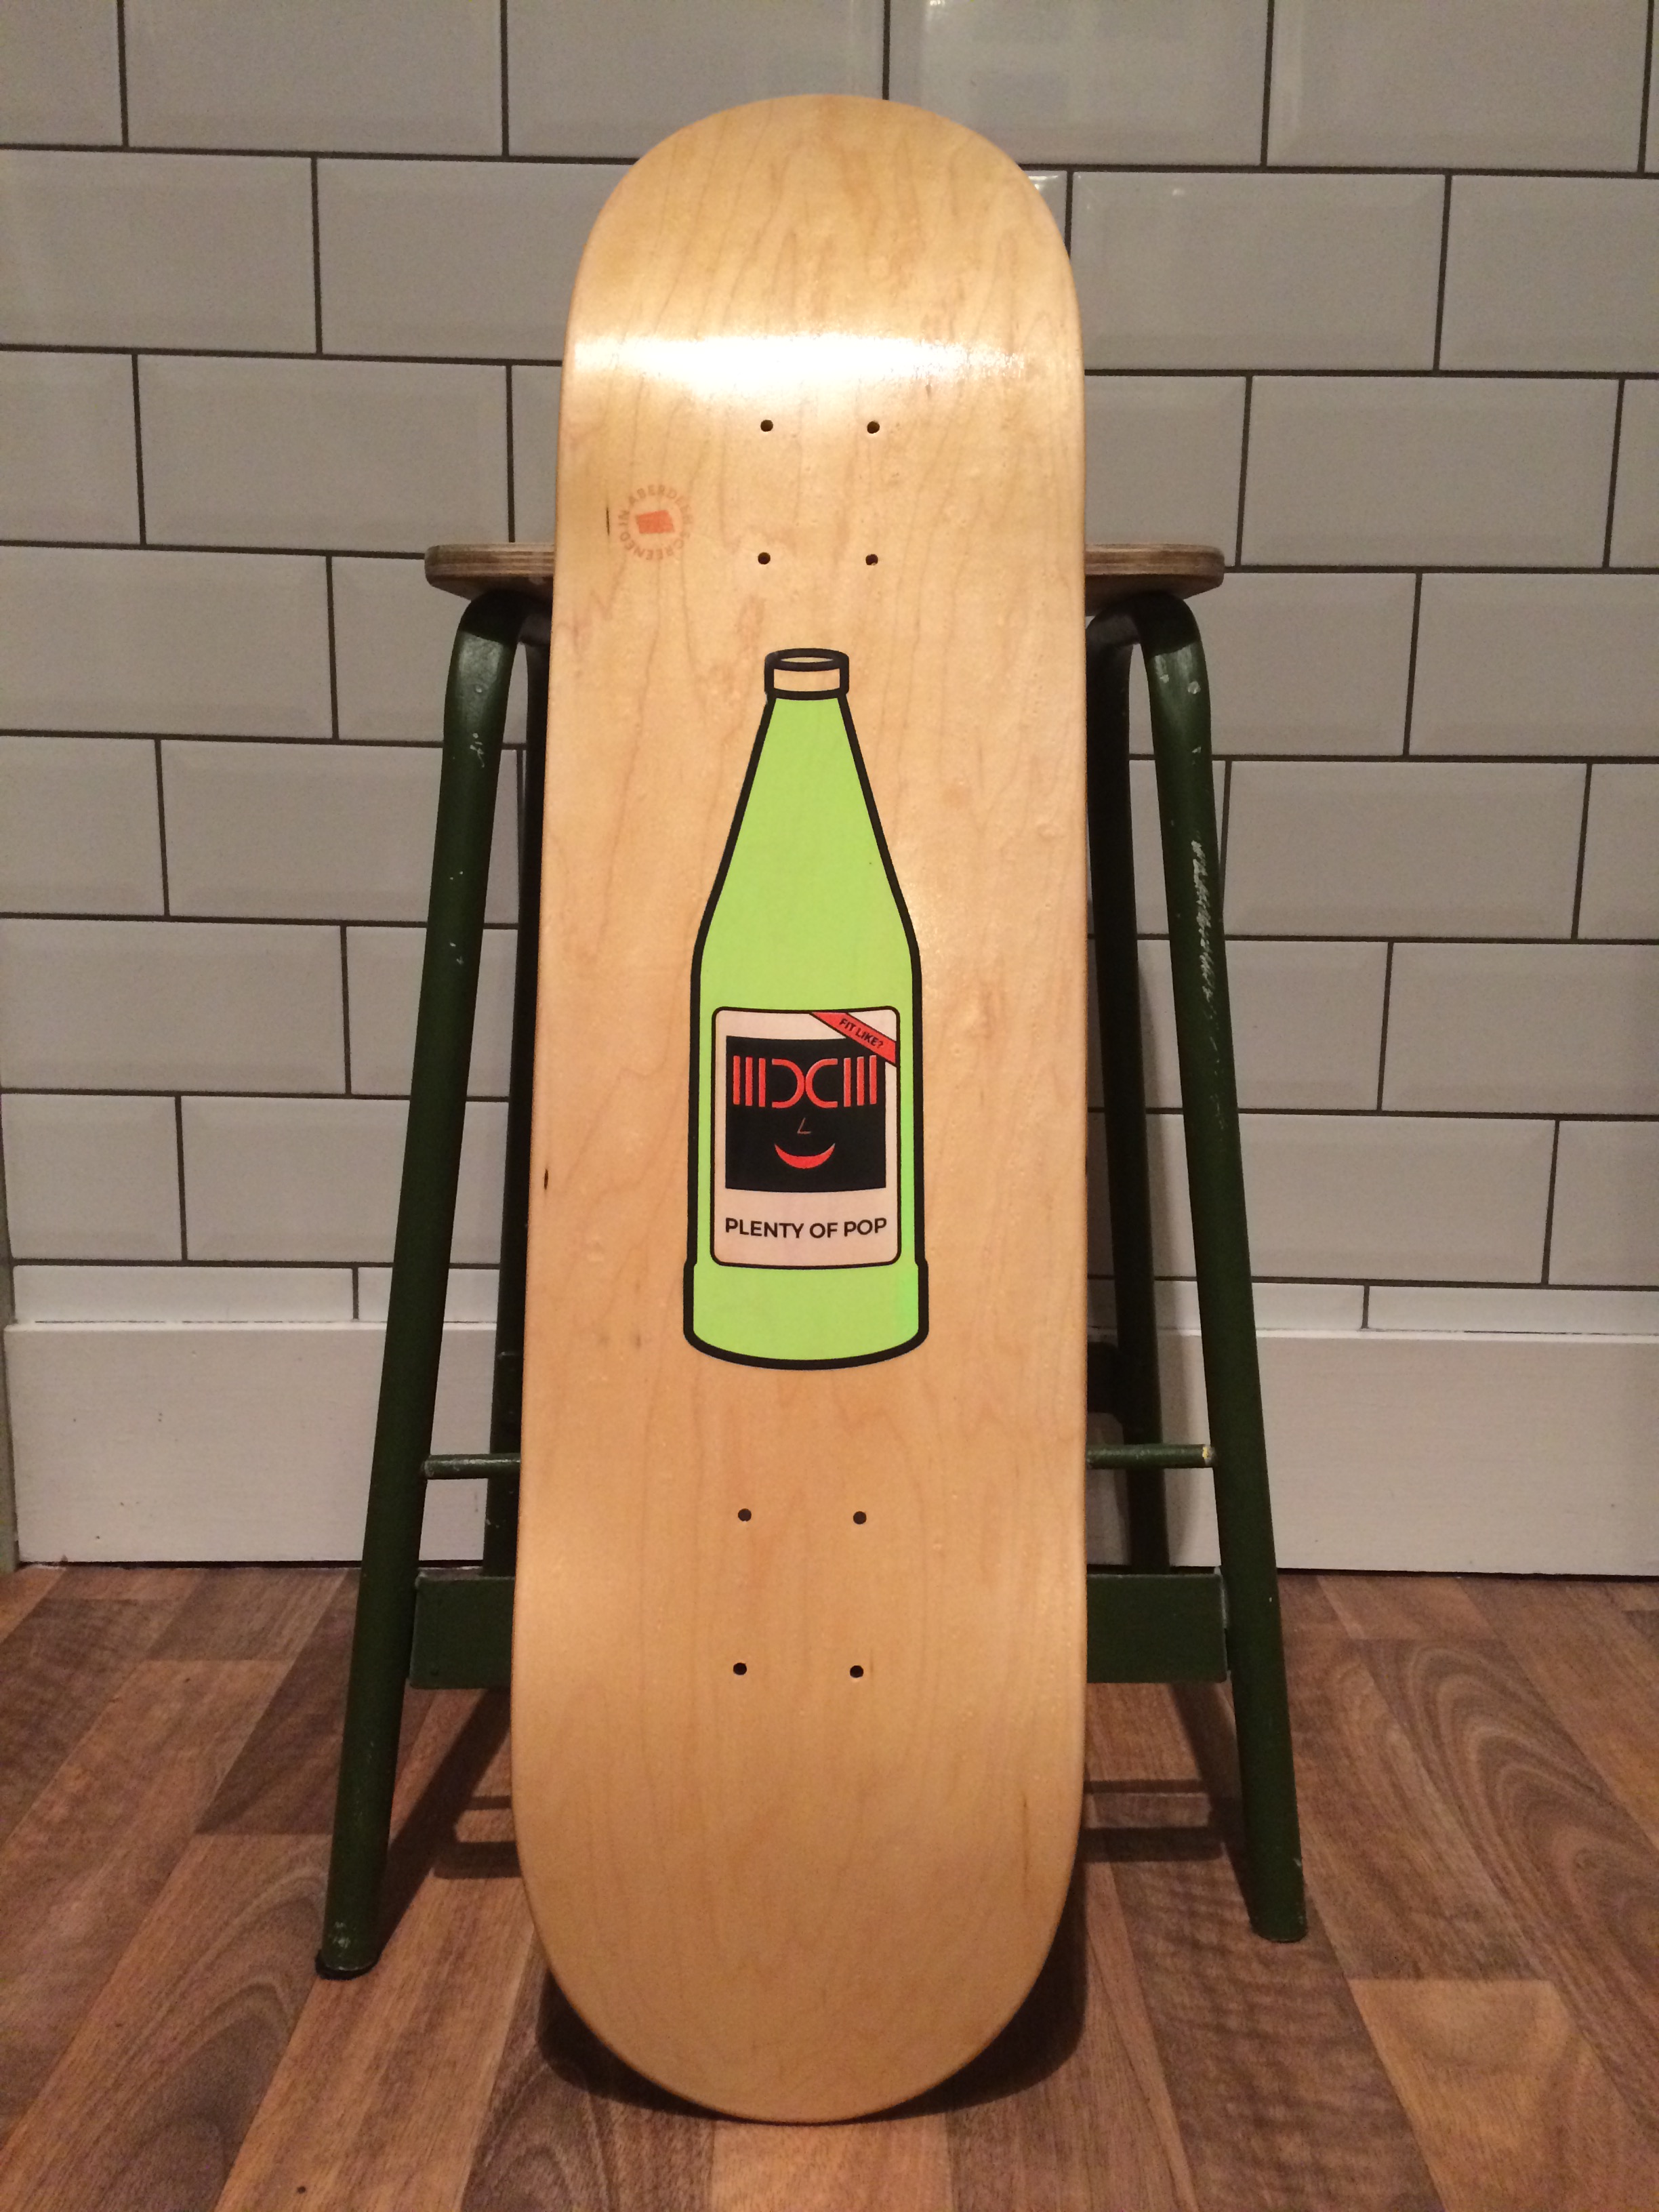
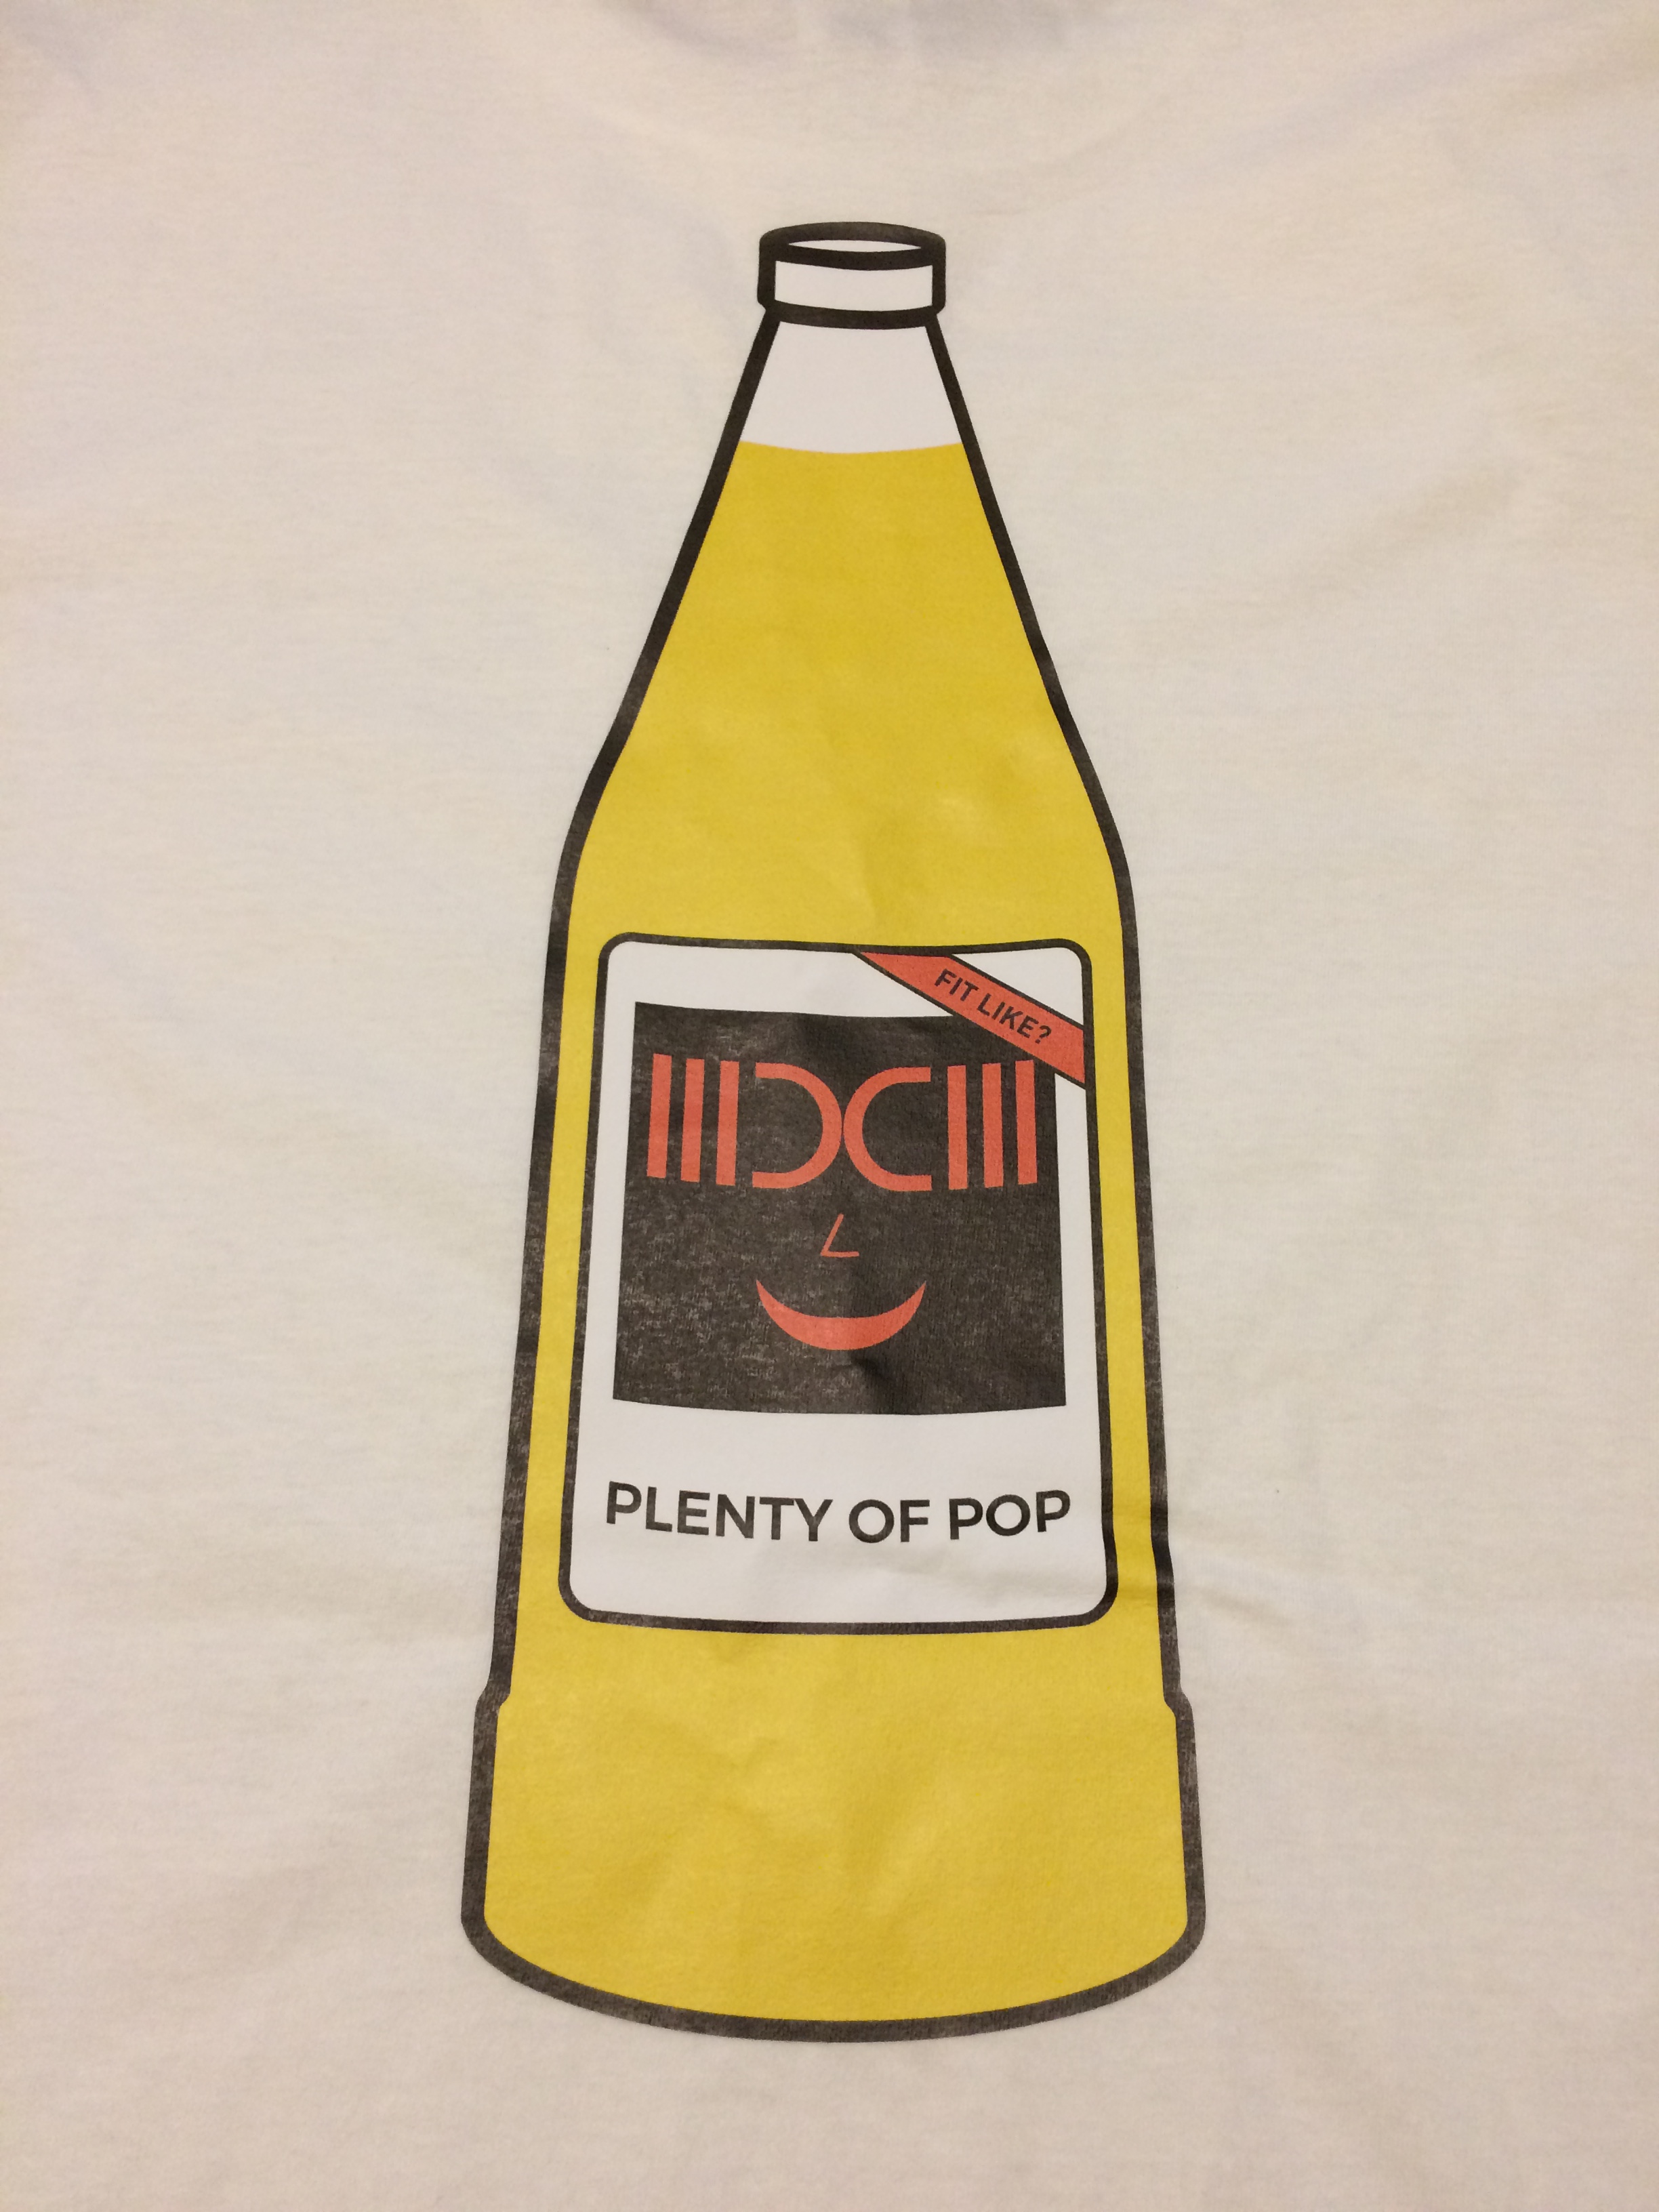
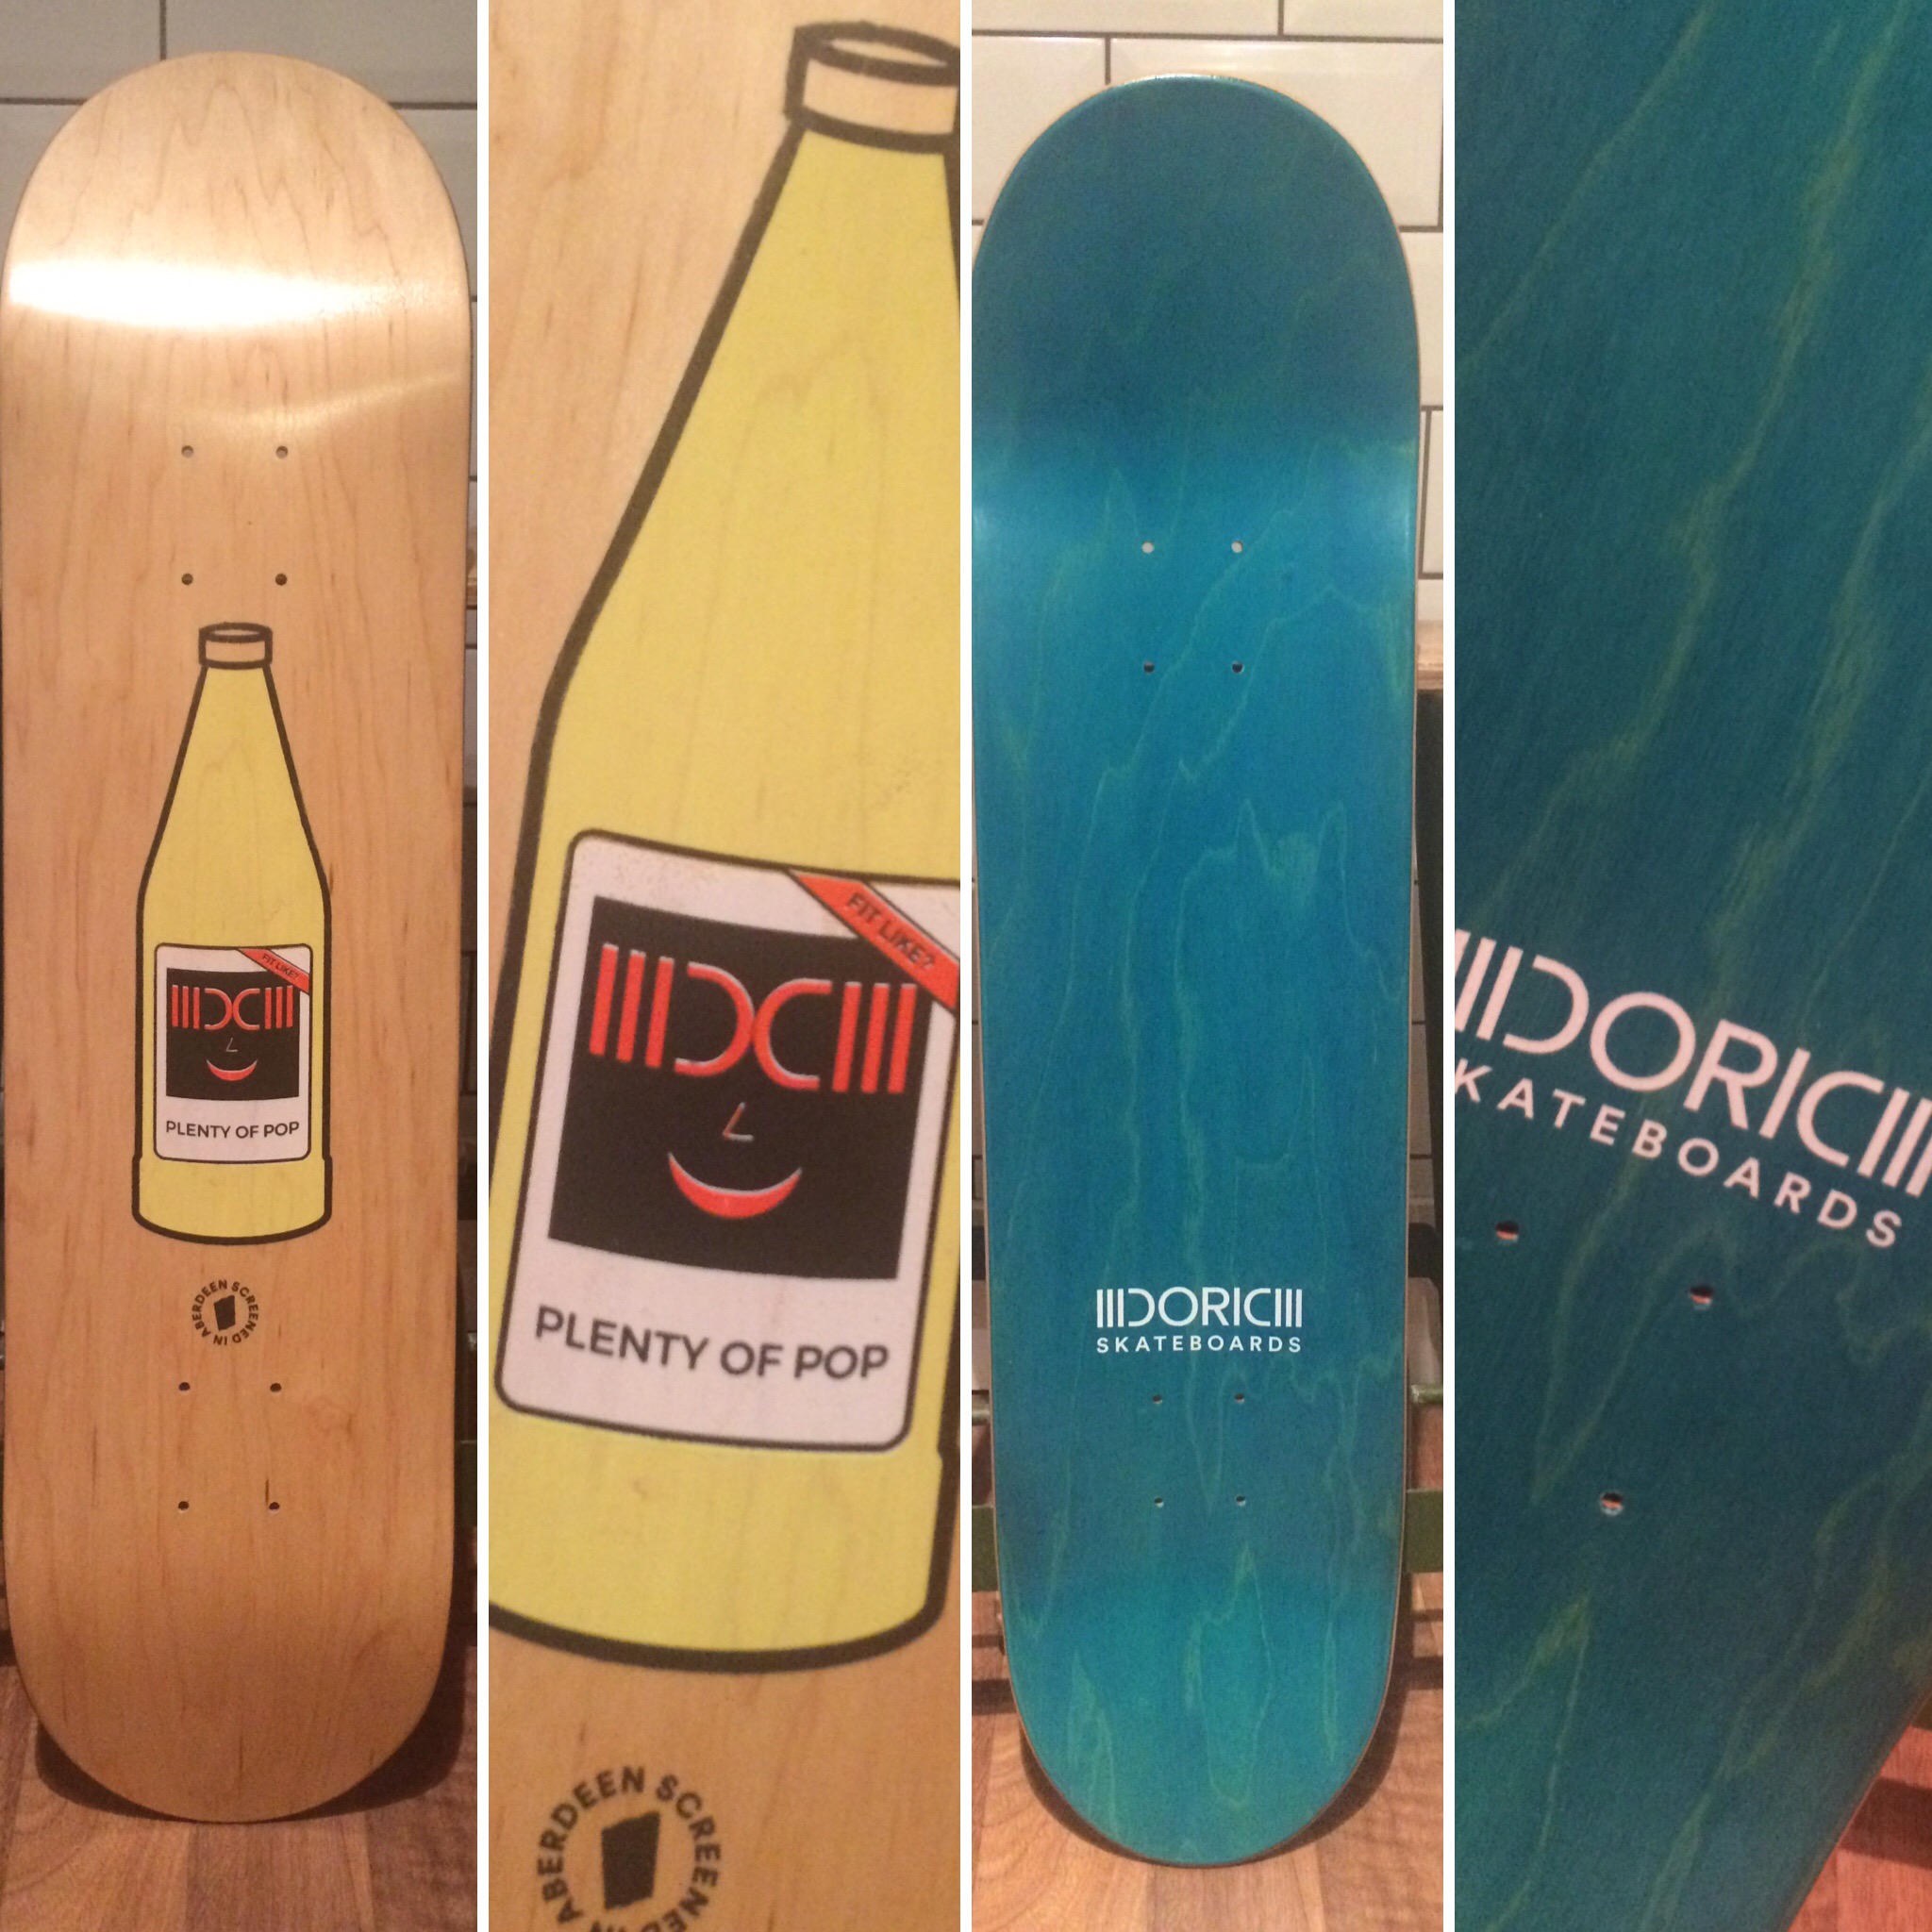
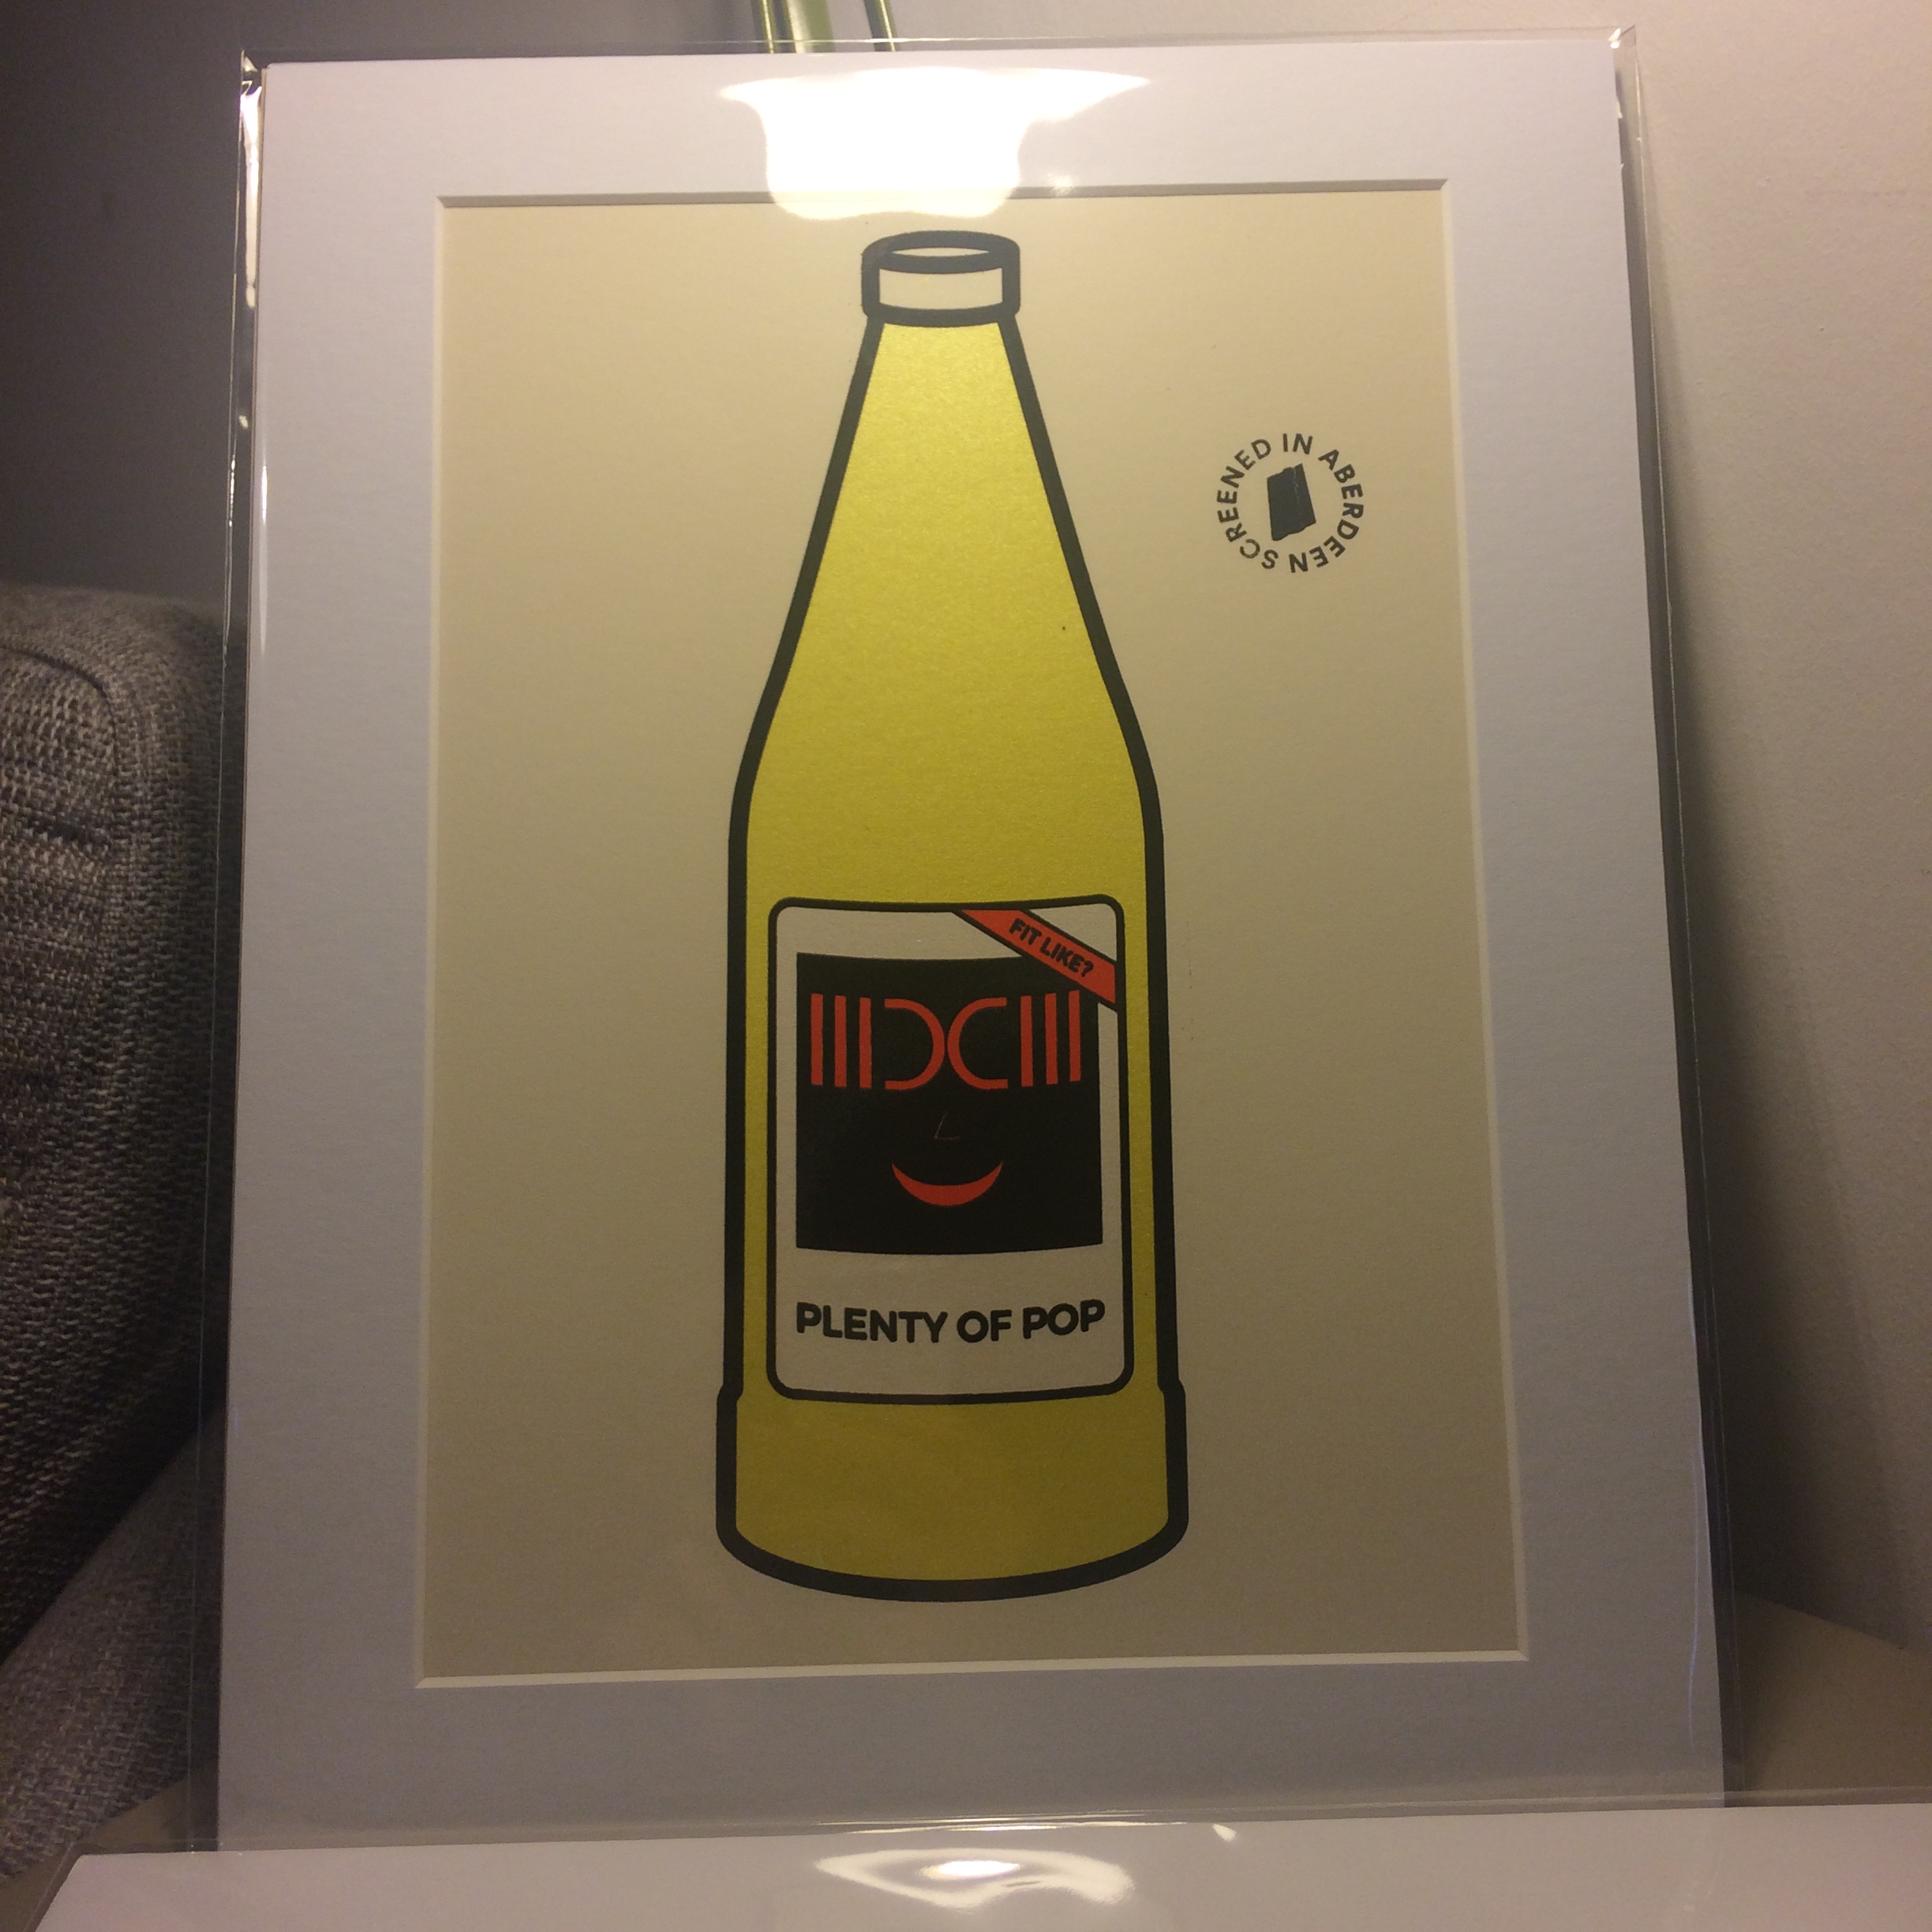
Although the Annie Street Dreams deck had a few colours in it, there was a degree of flexibility with the design. A millimeter here or there didn't really effect the image. However with this one i had to line up 4 screens with 4 different colours to create one image. Easy eh?
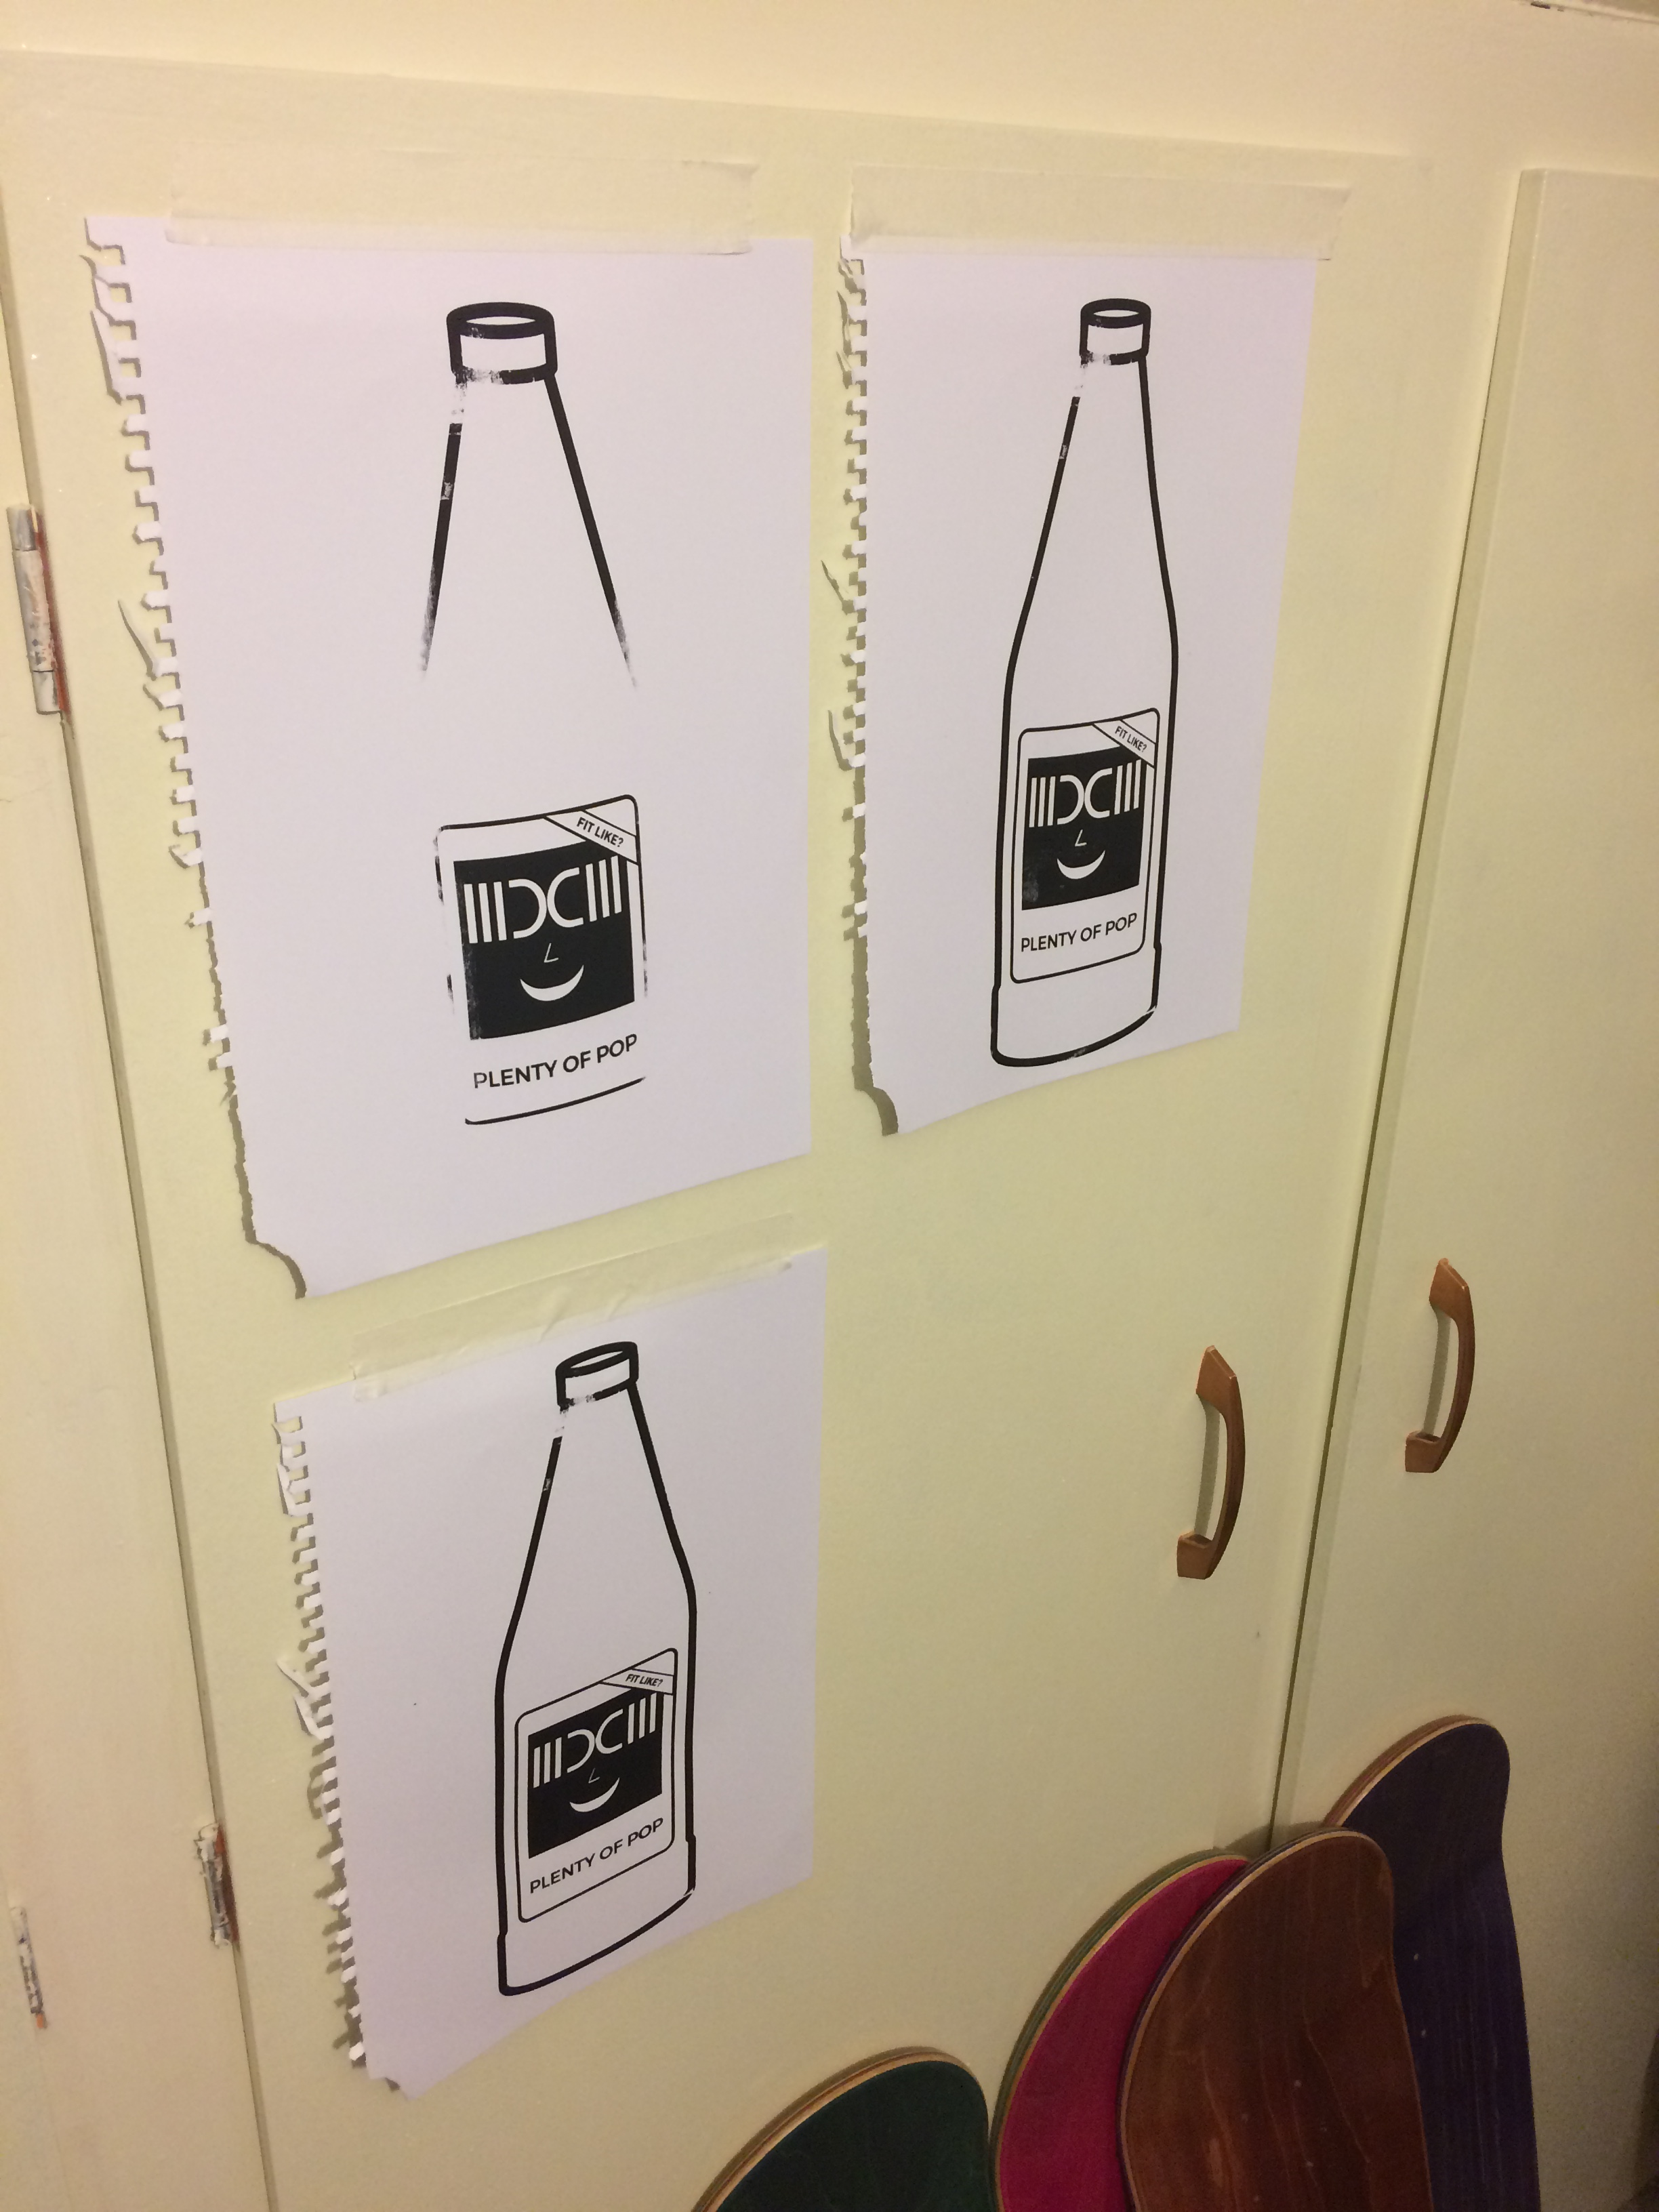
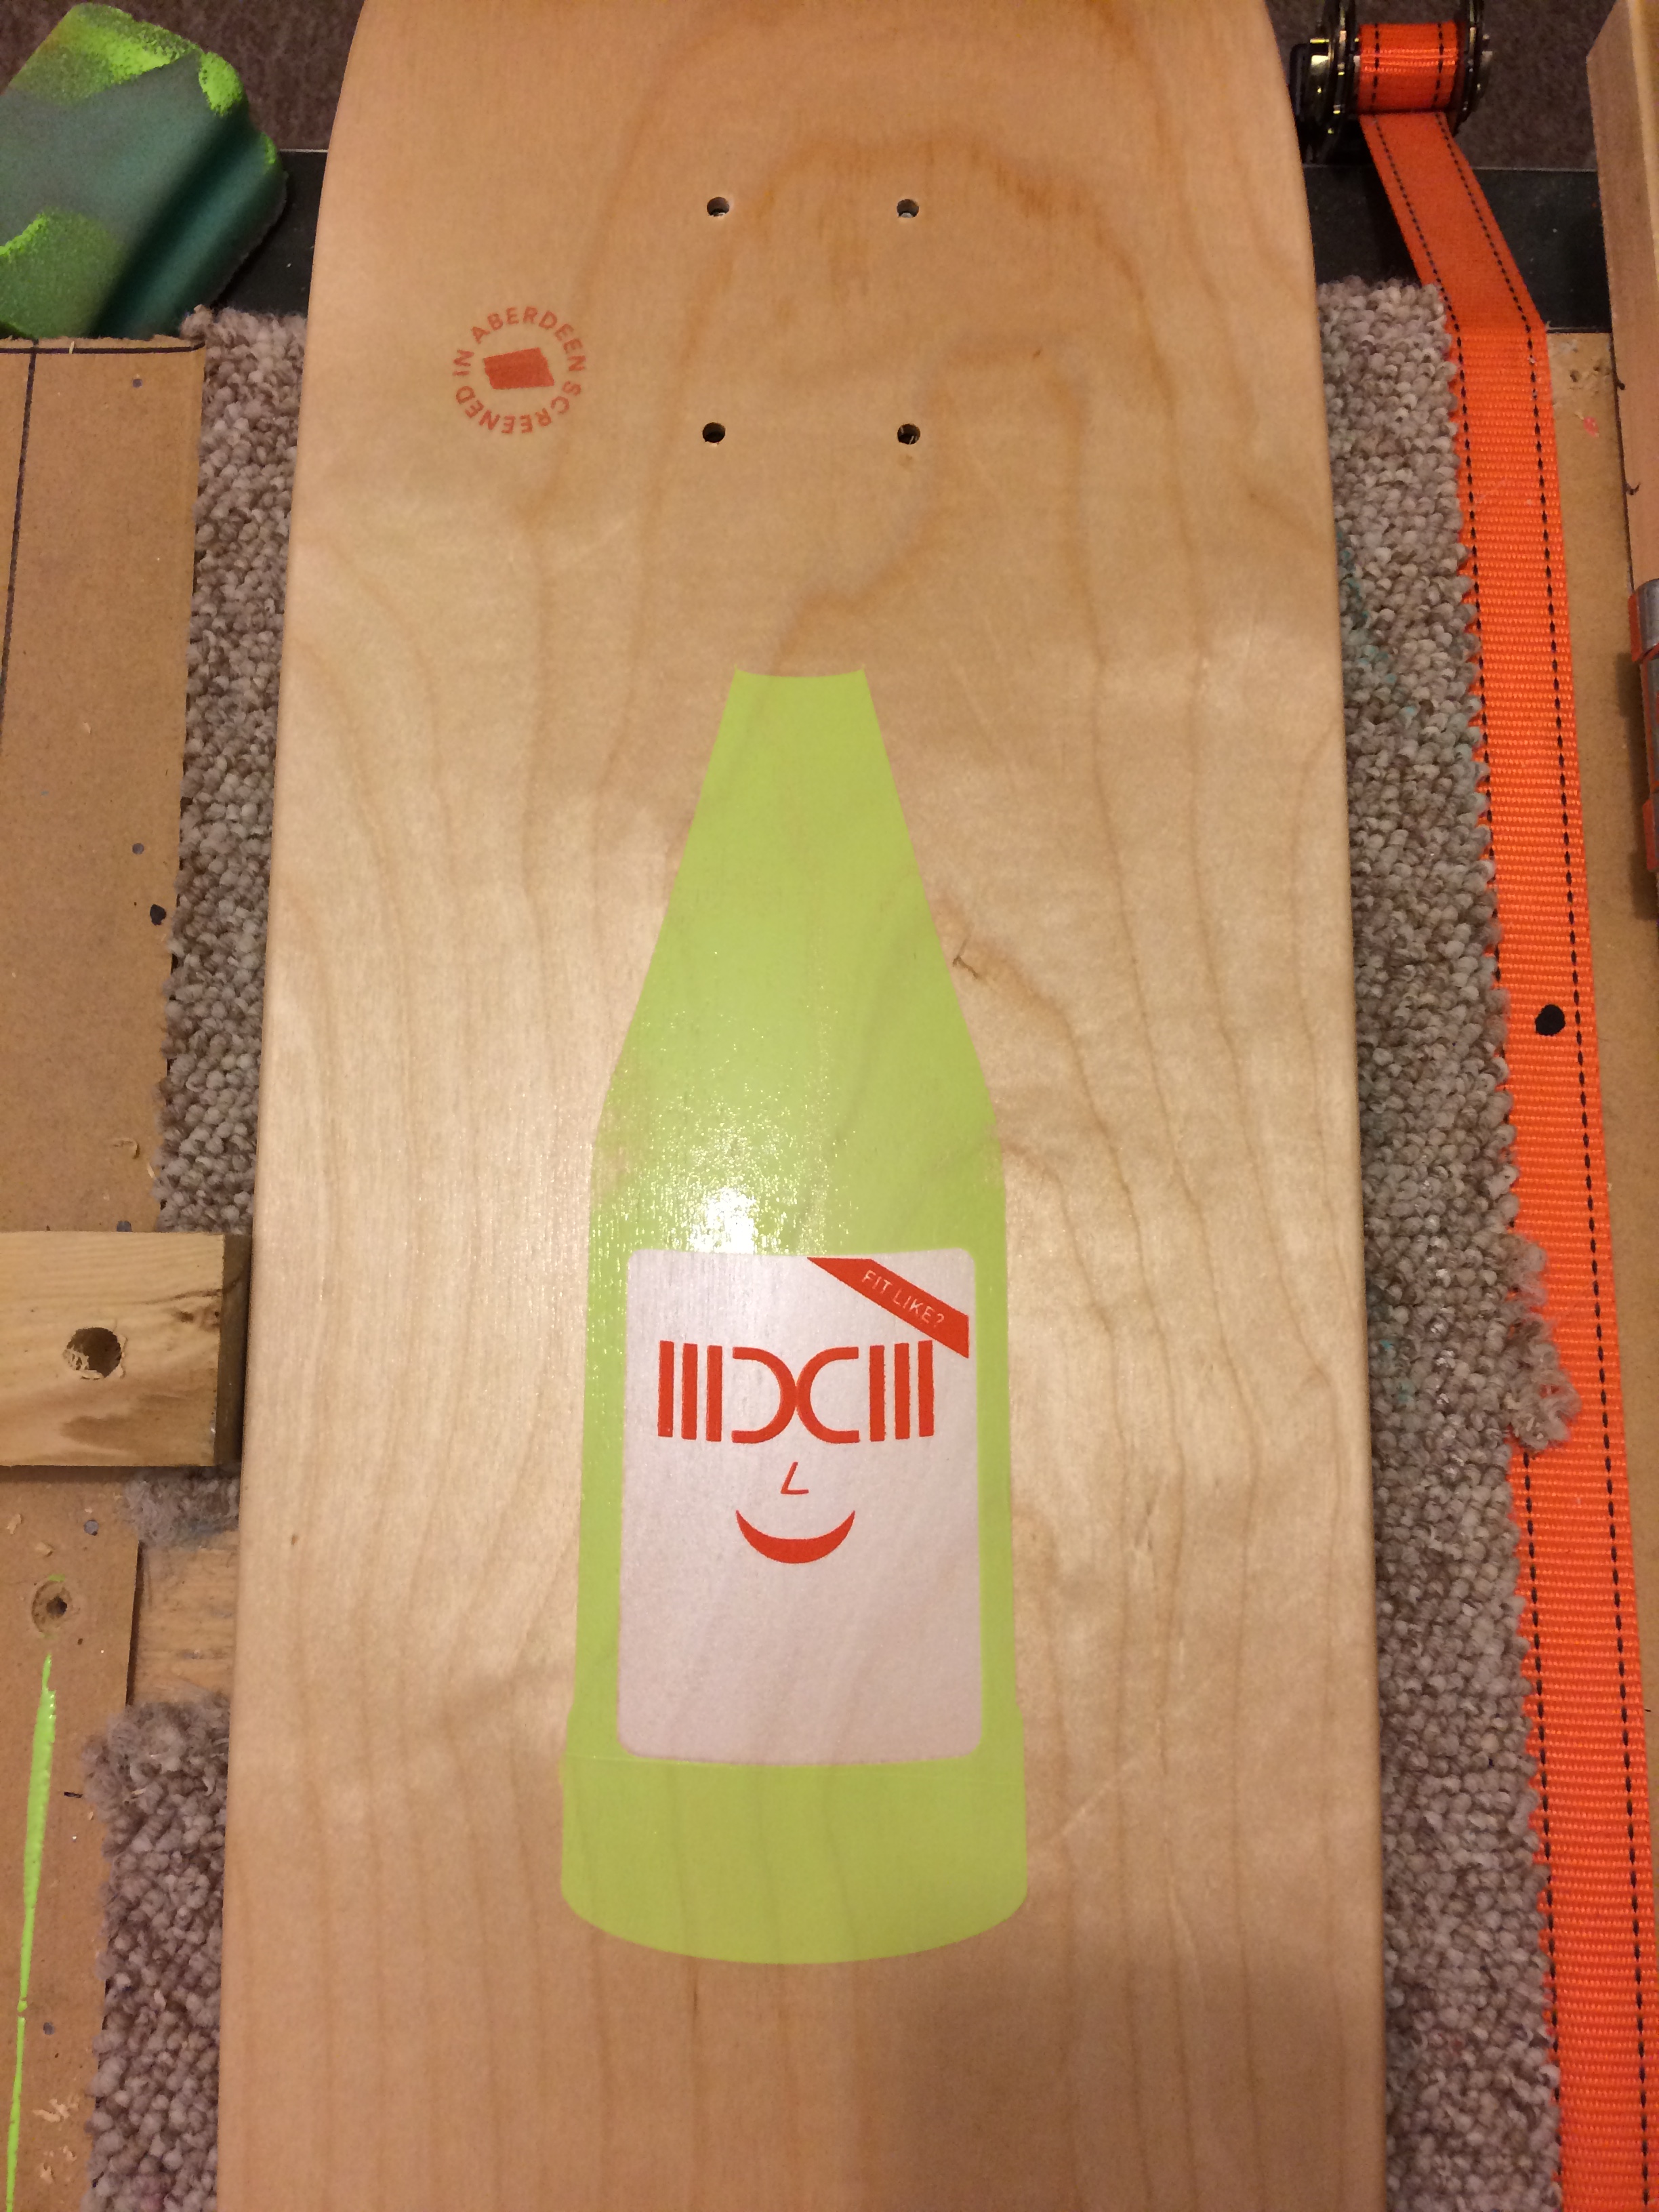
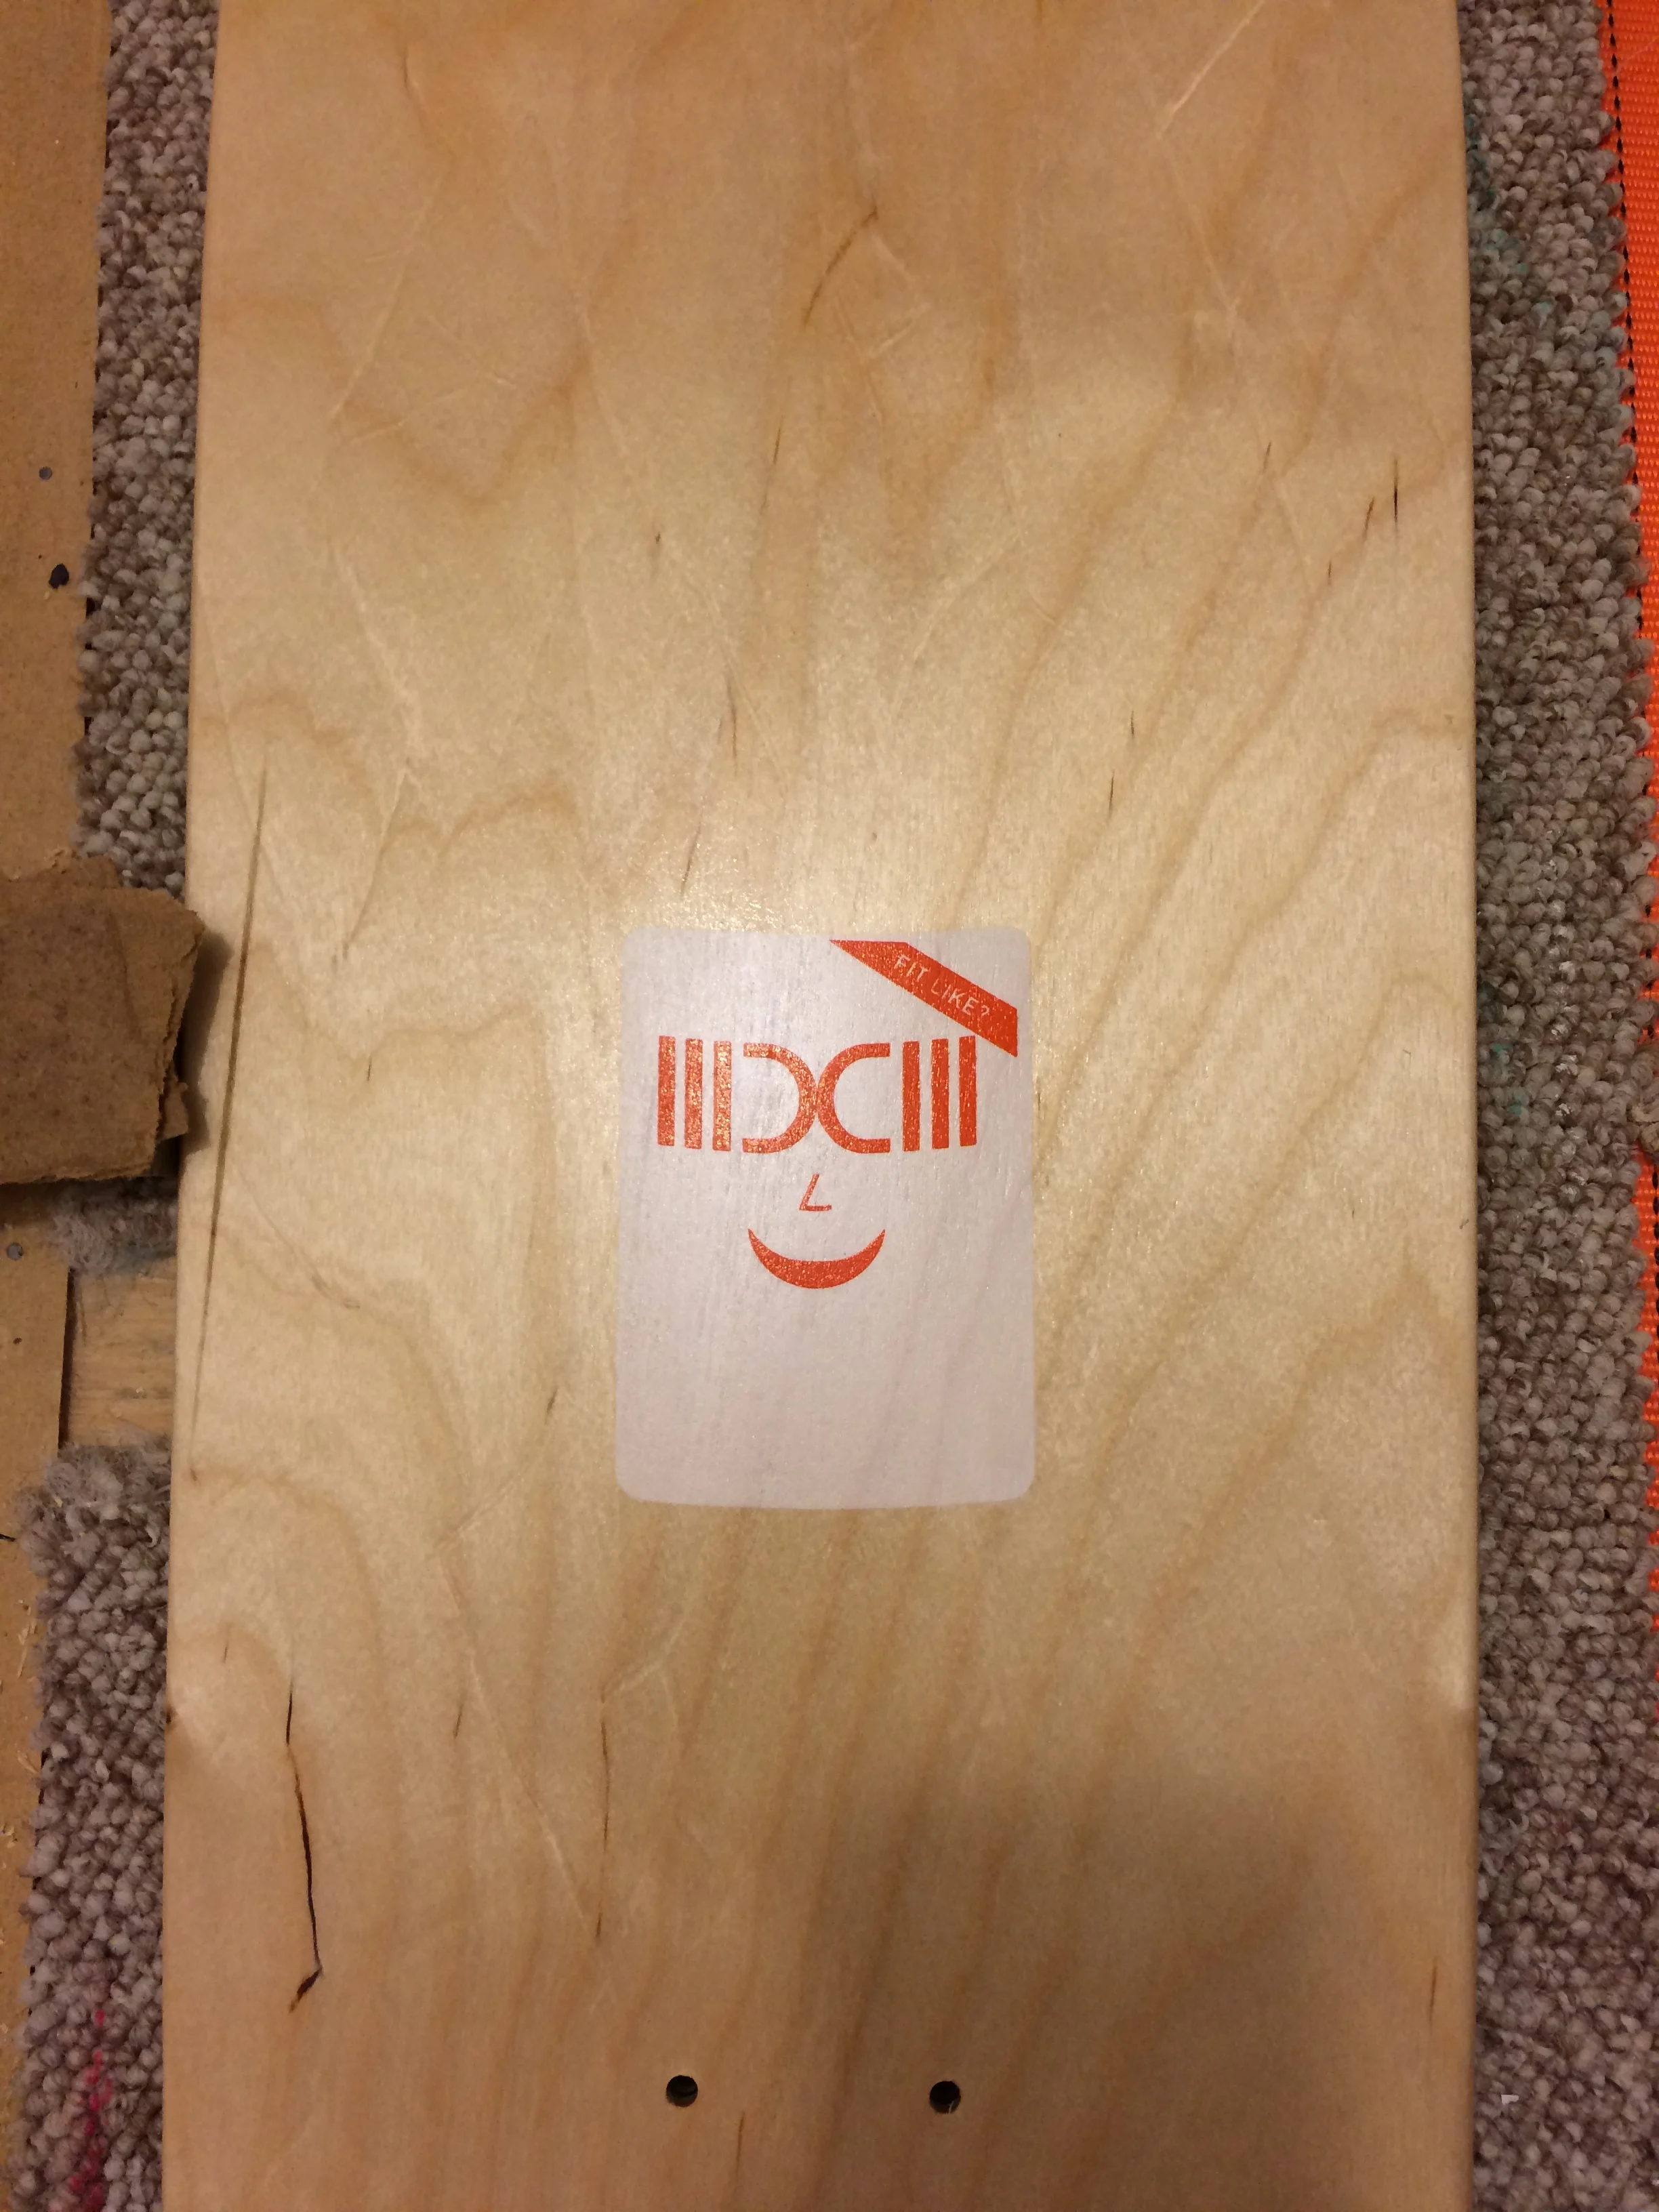
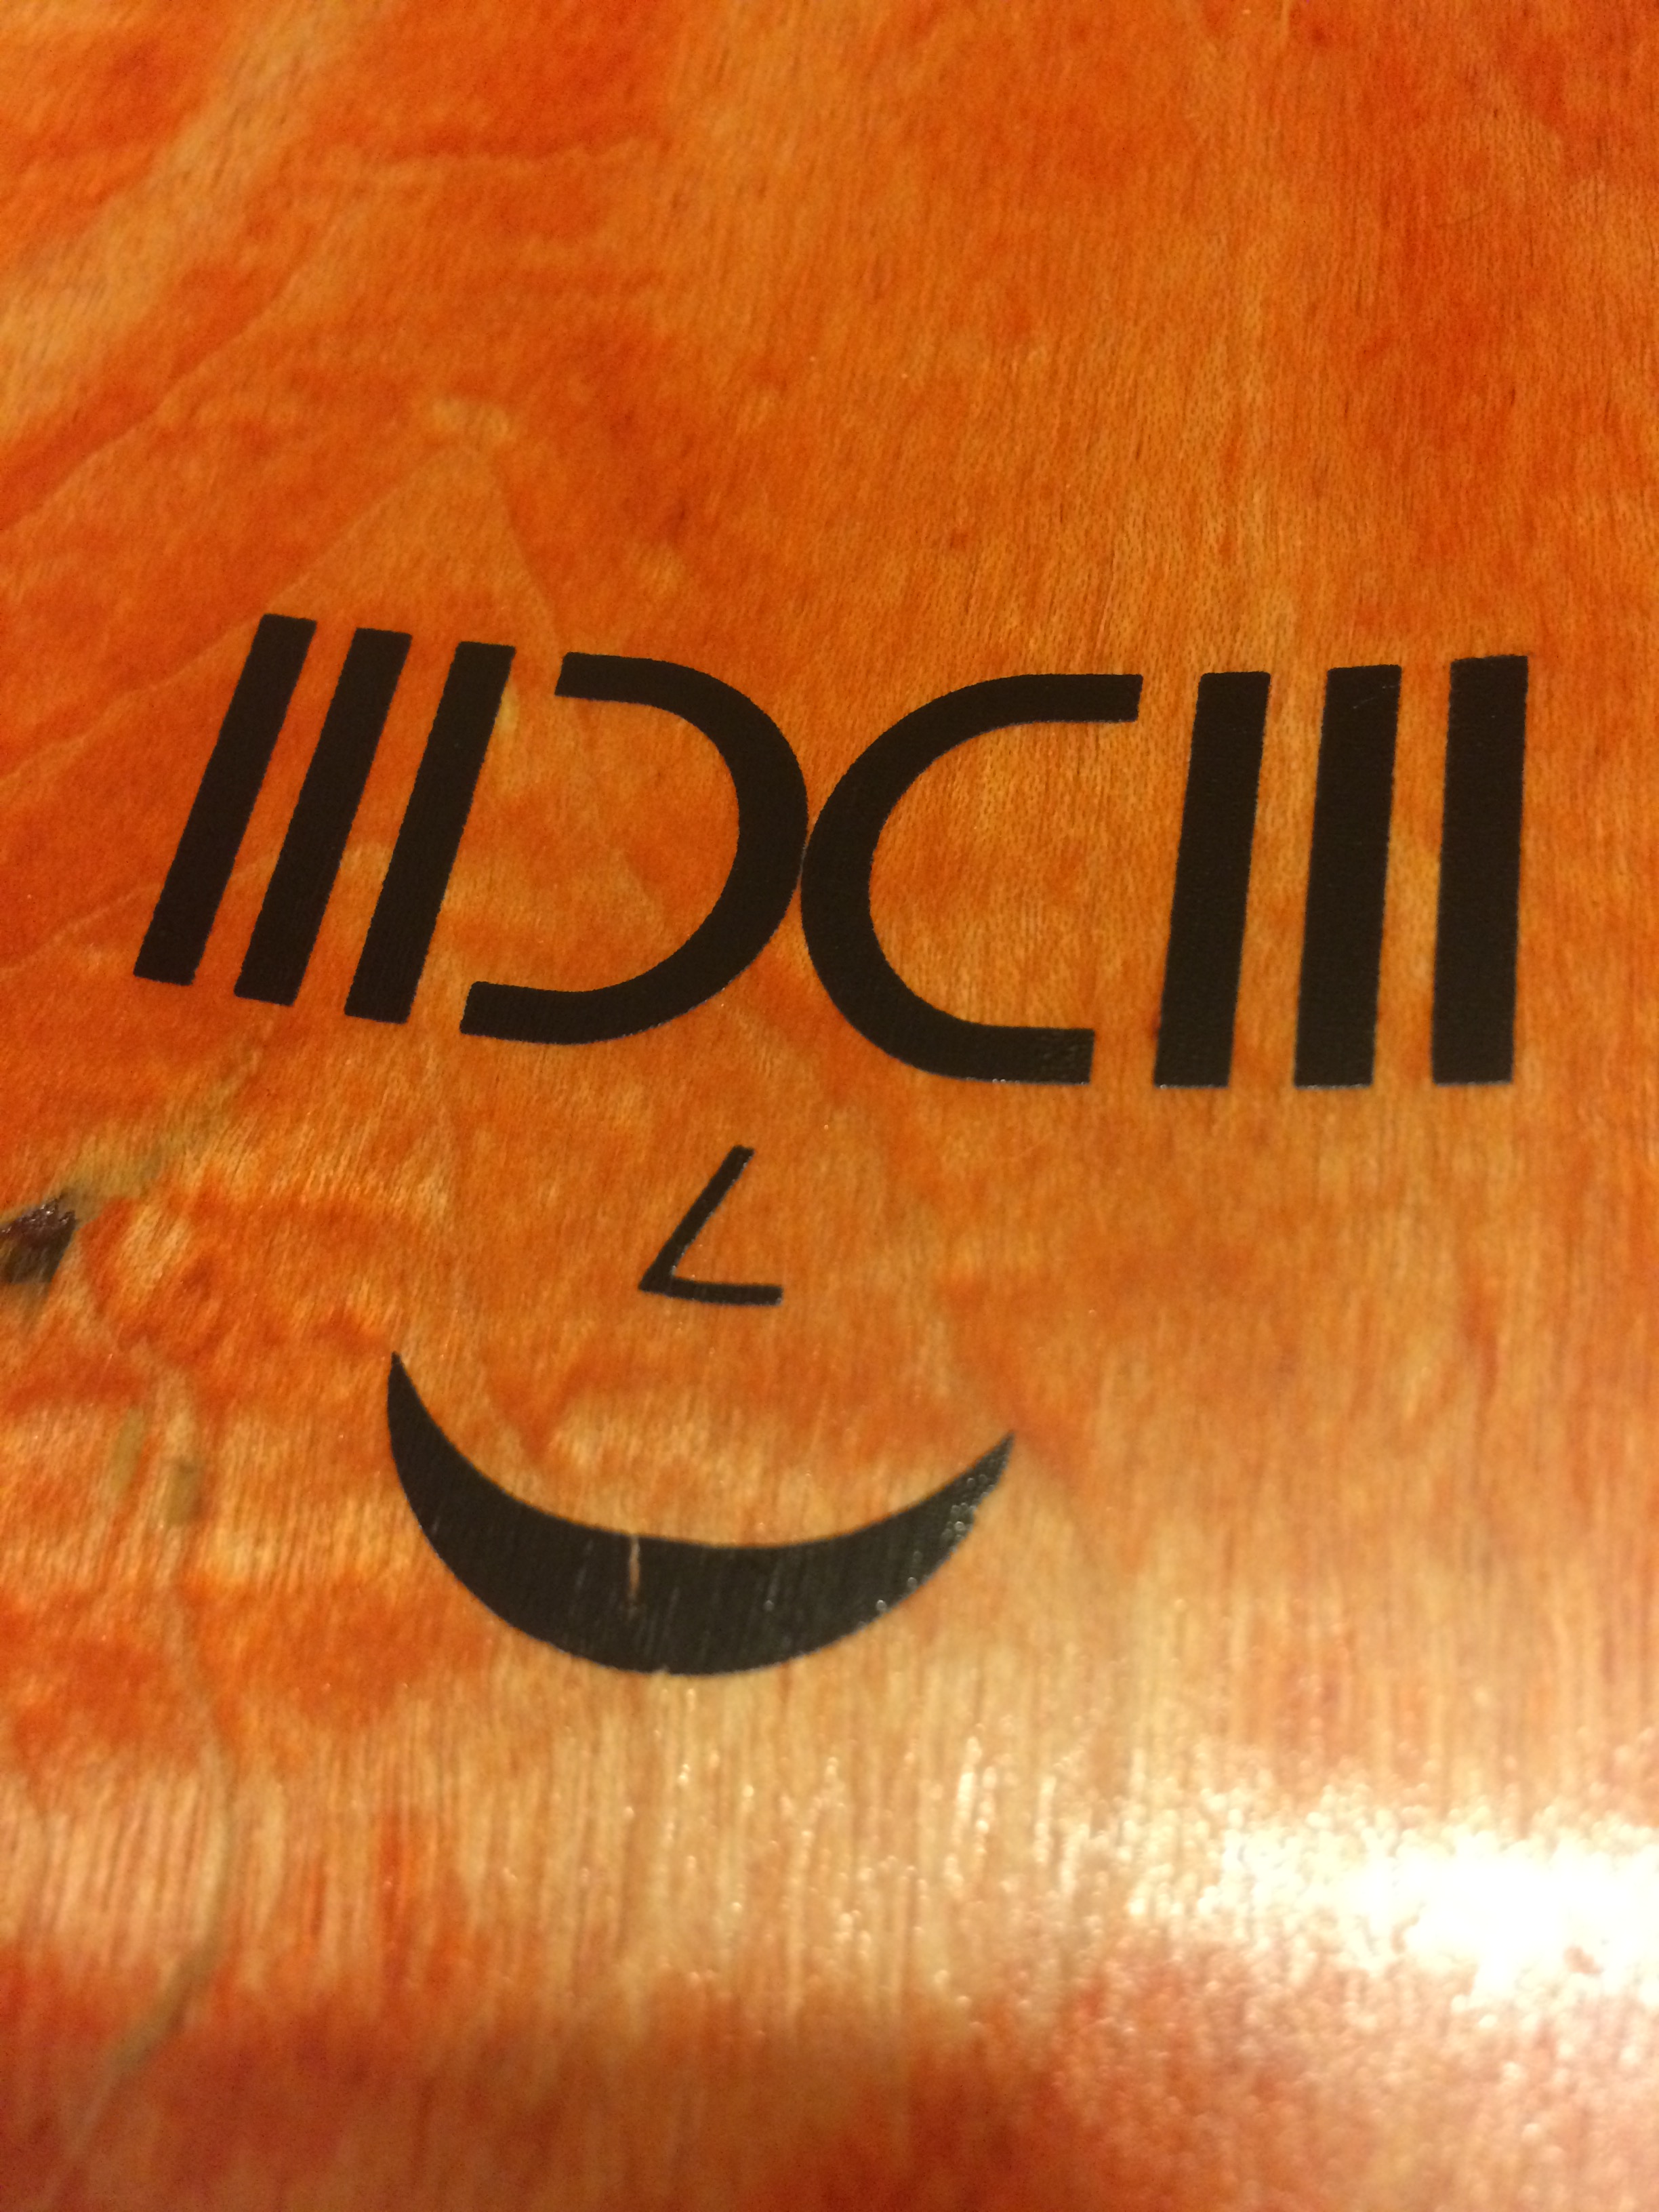
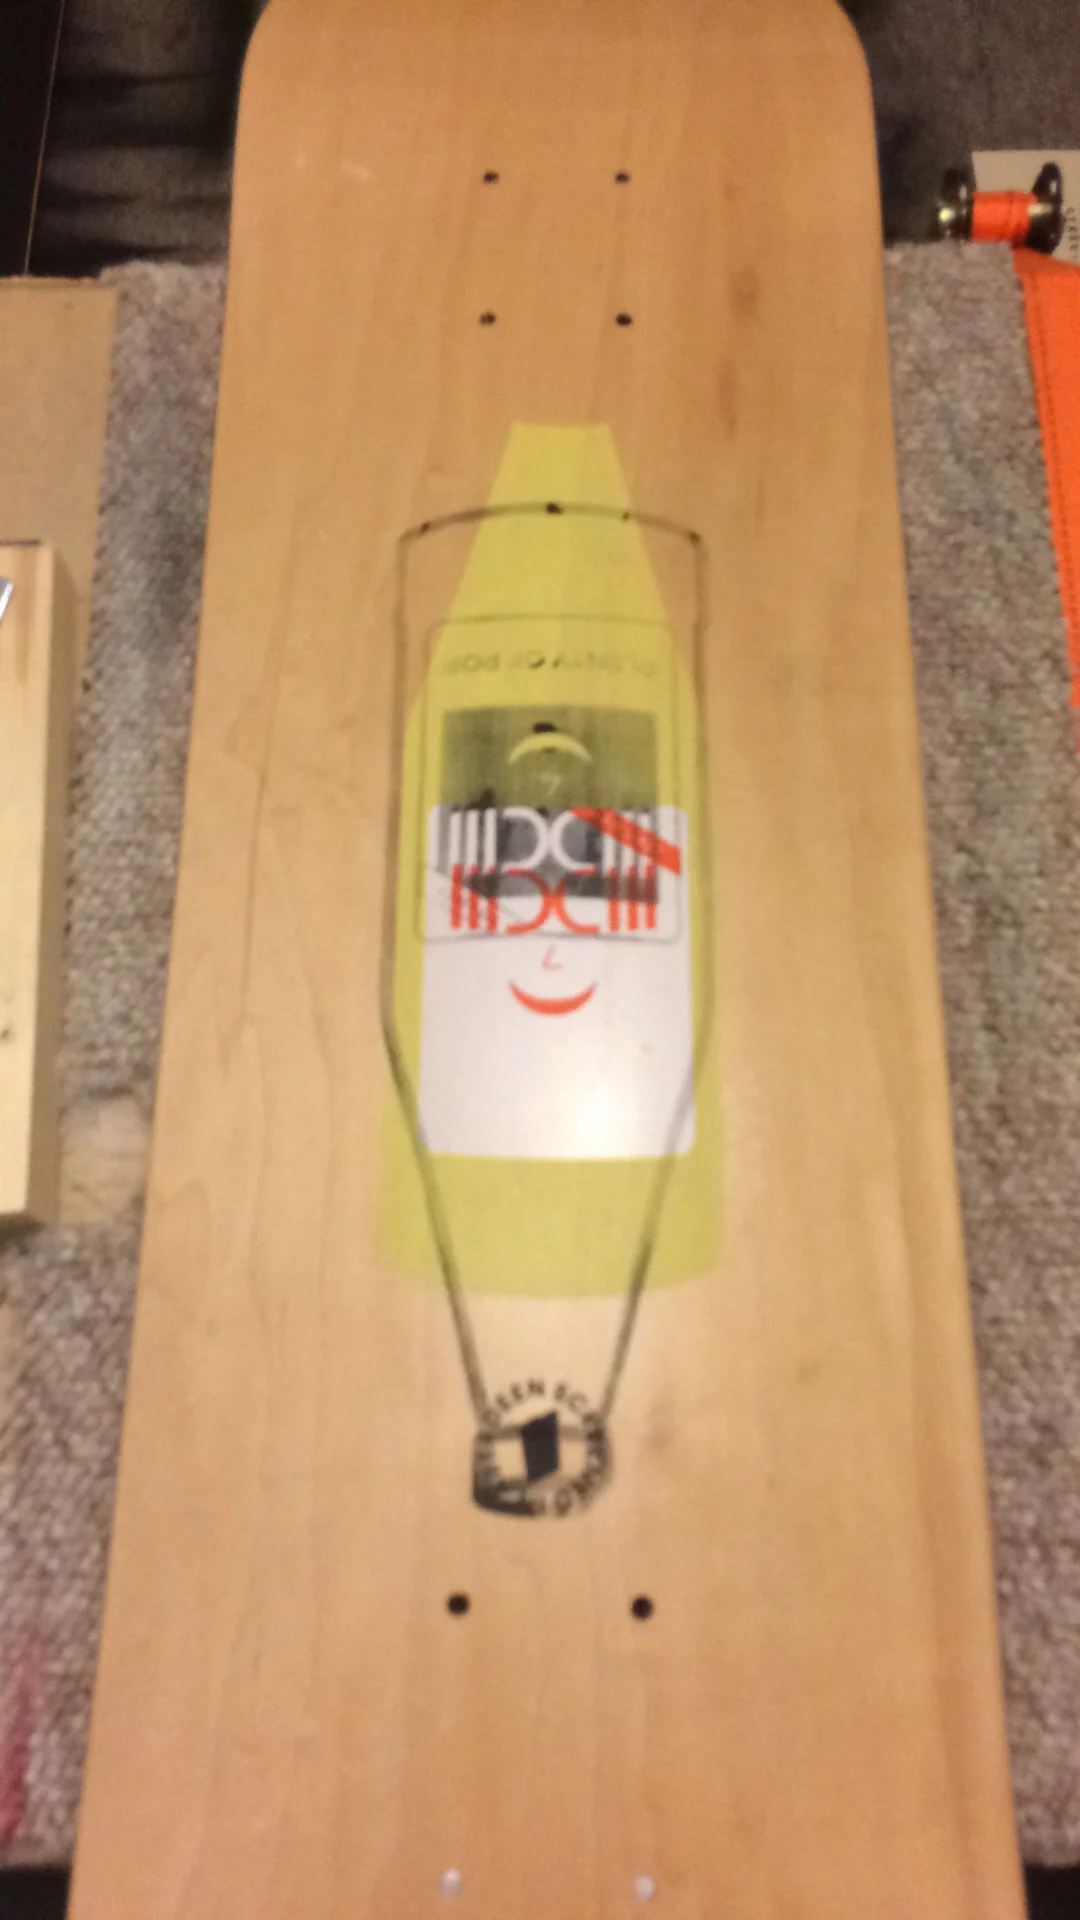
So some of the first things i discovered was that overlapping the images was the way forward. No overlap means you have to get it BANG on. i.e. line up the screen to the image each time and ensure that its millimeter perfect. Not easy. Especially when screening on a curved deck!
Also needed to think about which direction to screen. You pull (or push if you like it that way) the ink through the screen and that deposits the ink onto your deck. A squeegee is used but they aren't really soft enough (that i've found) to take on the curve. So i screened width ways - this has its own issues. The contact between the deck and the screen can be an issue and the pressure you put on makes all the difference. Too much pressure on the part closest to the screen means you are going to make a mess - not enough pressure on the part furthest from the screen means you arent going to deposit enough ink.
So its a balance.
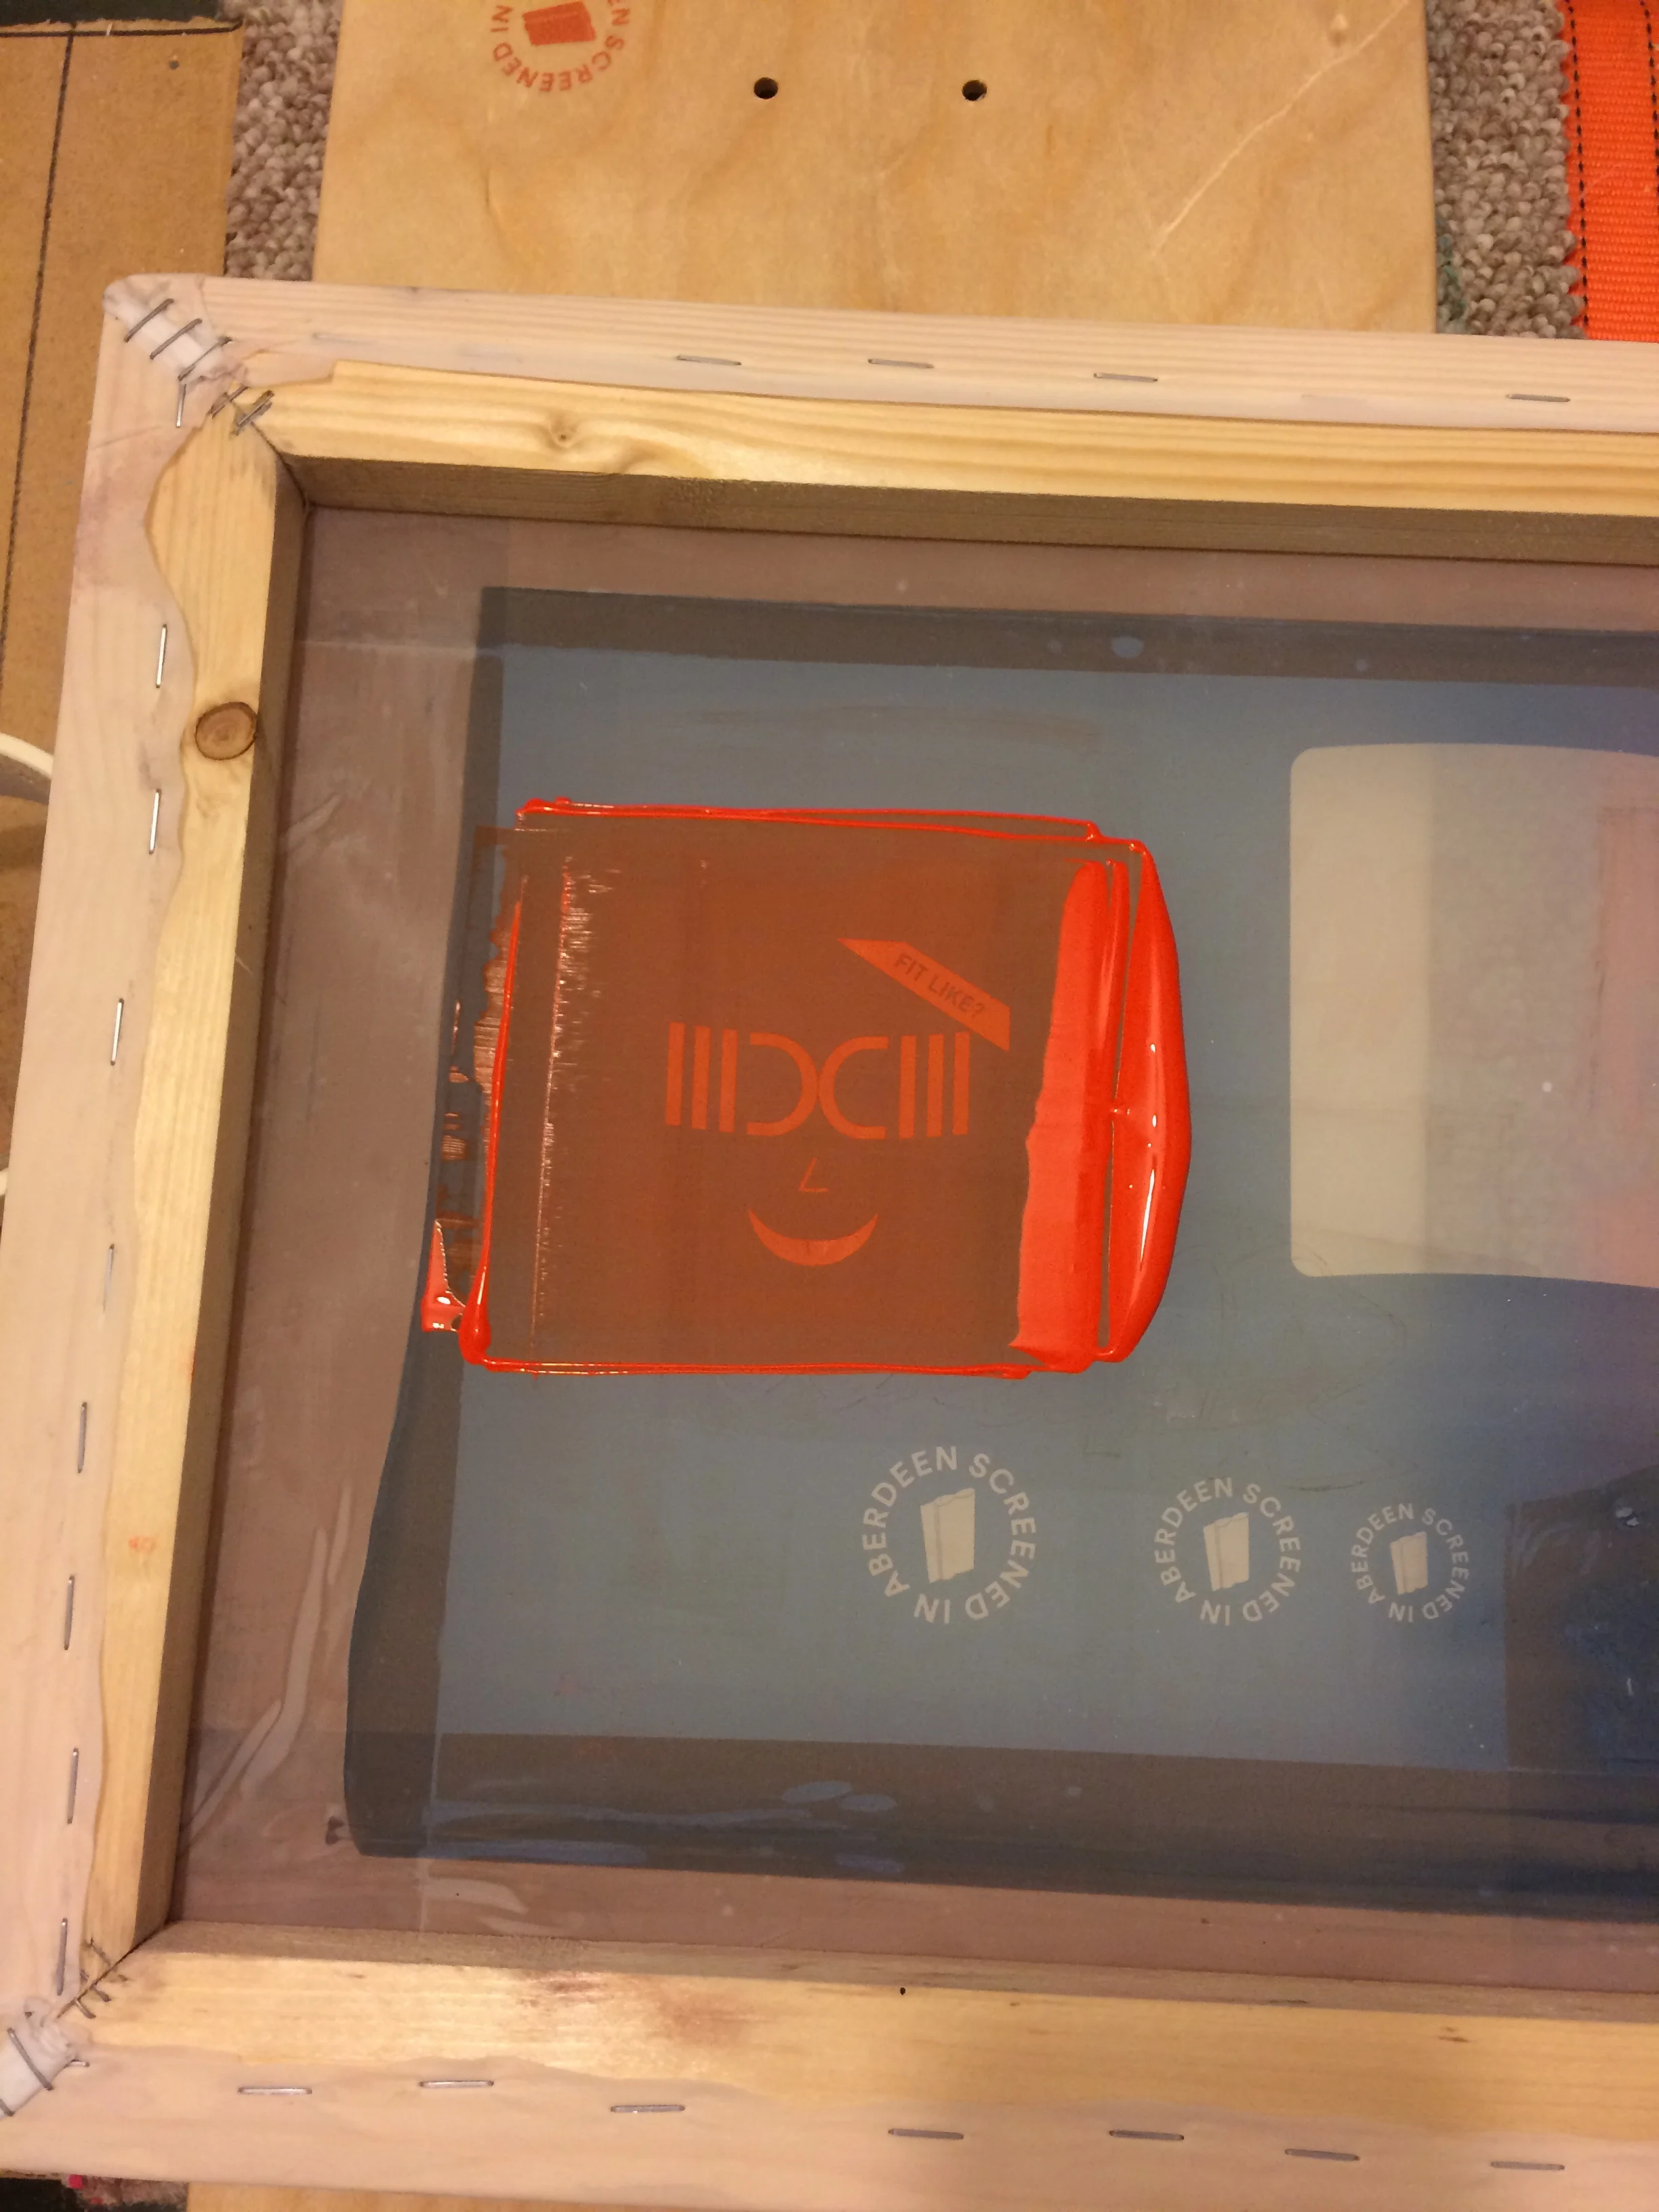
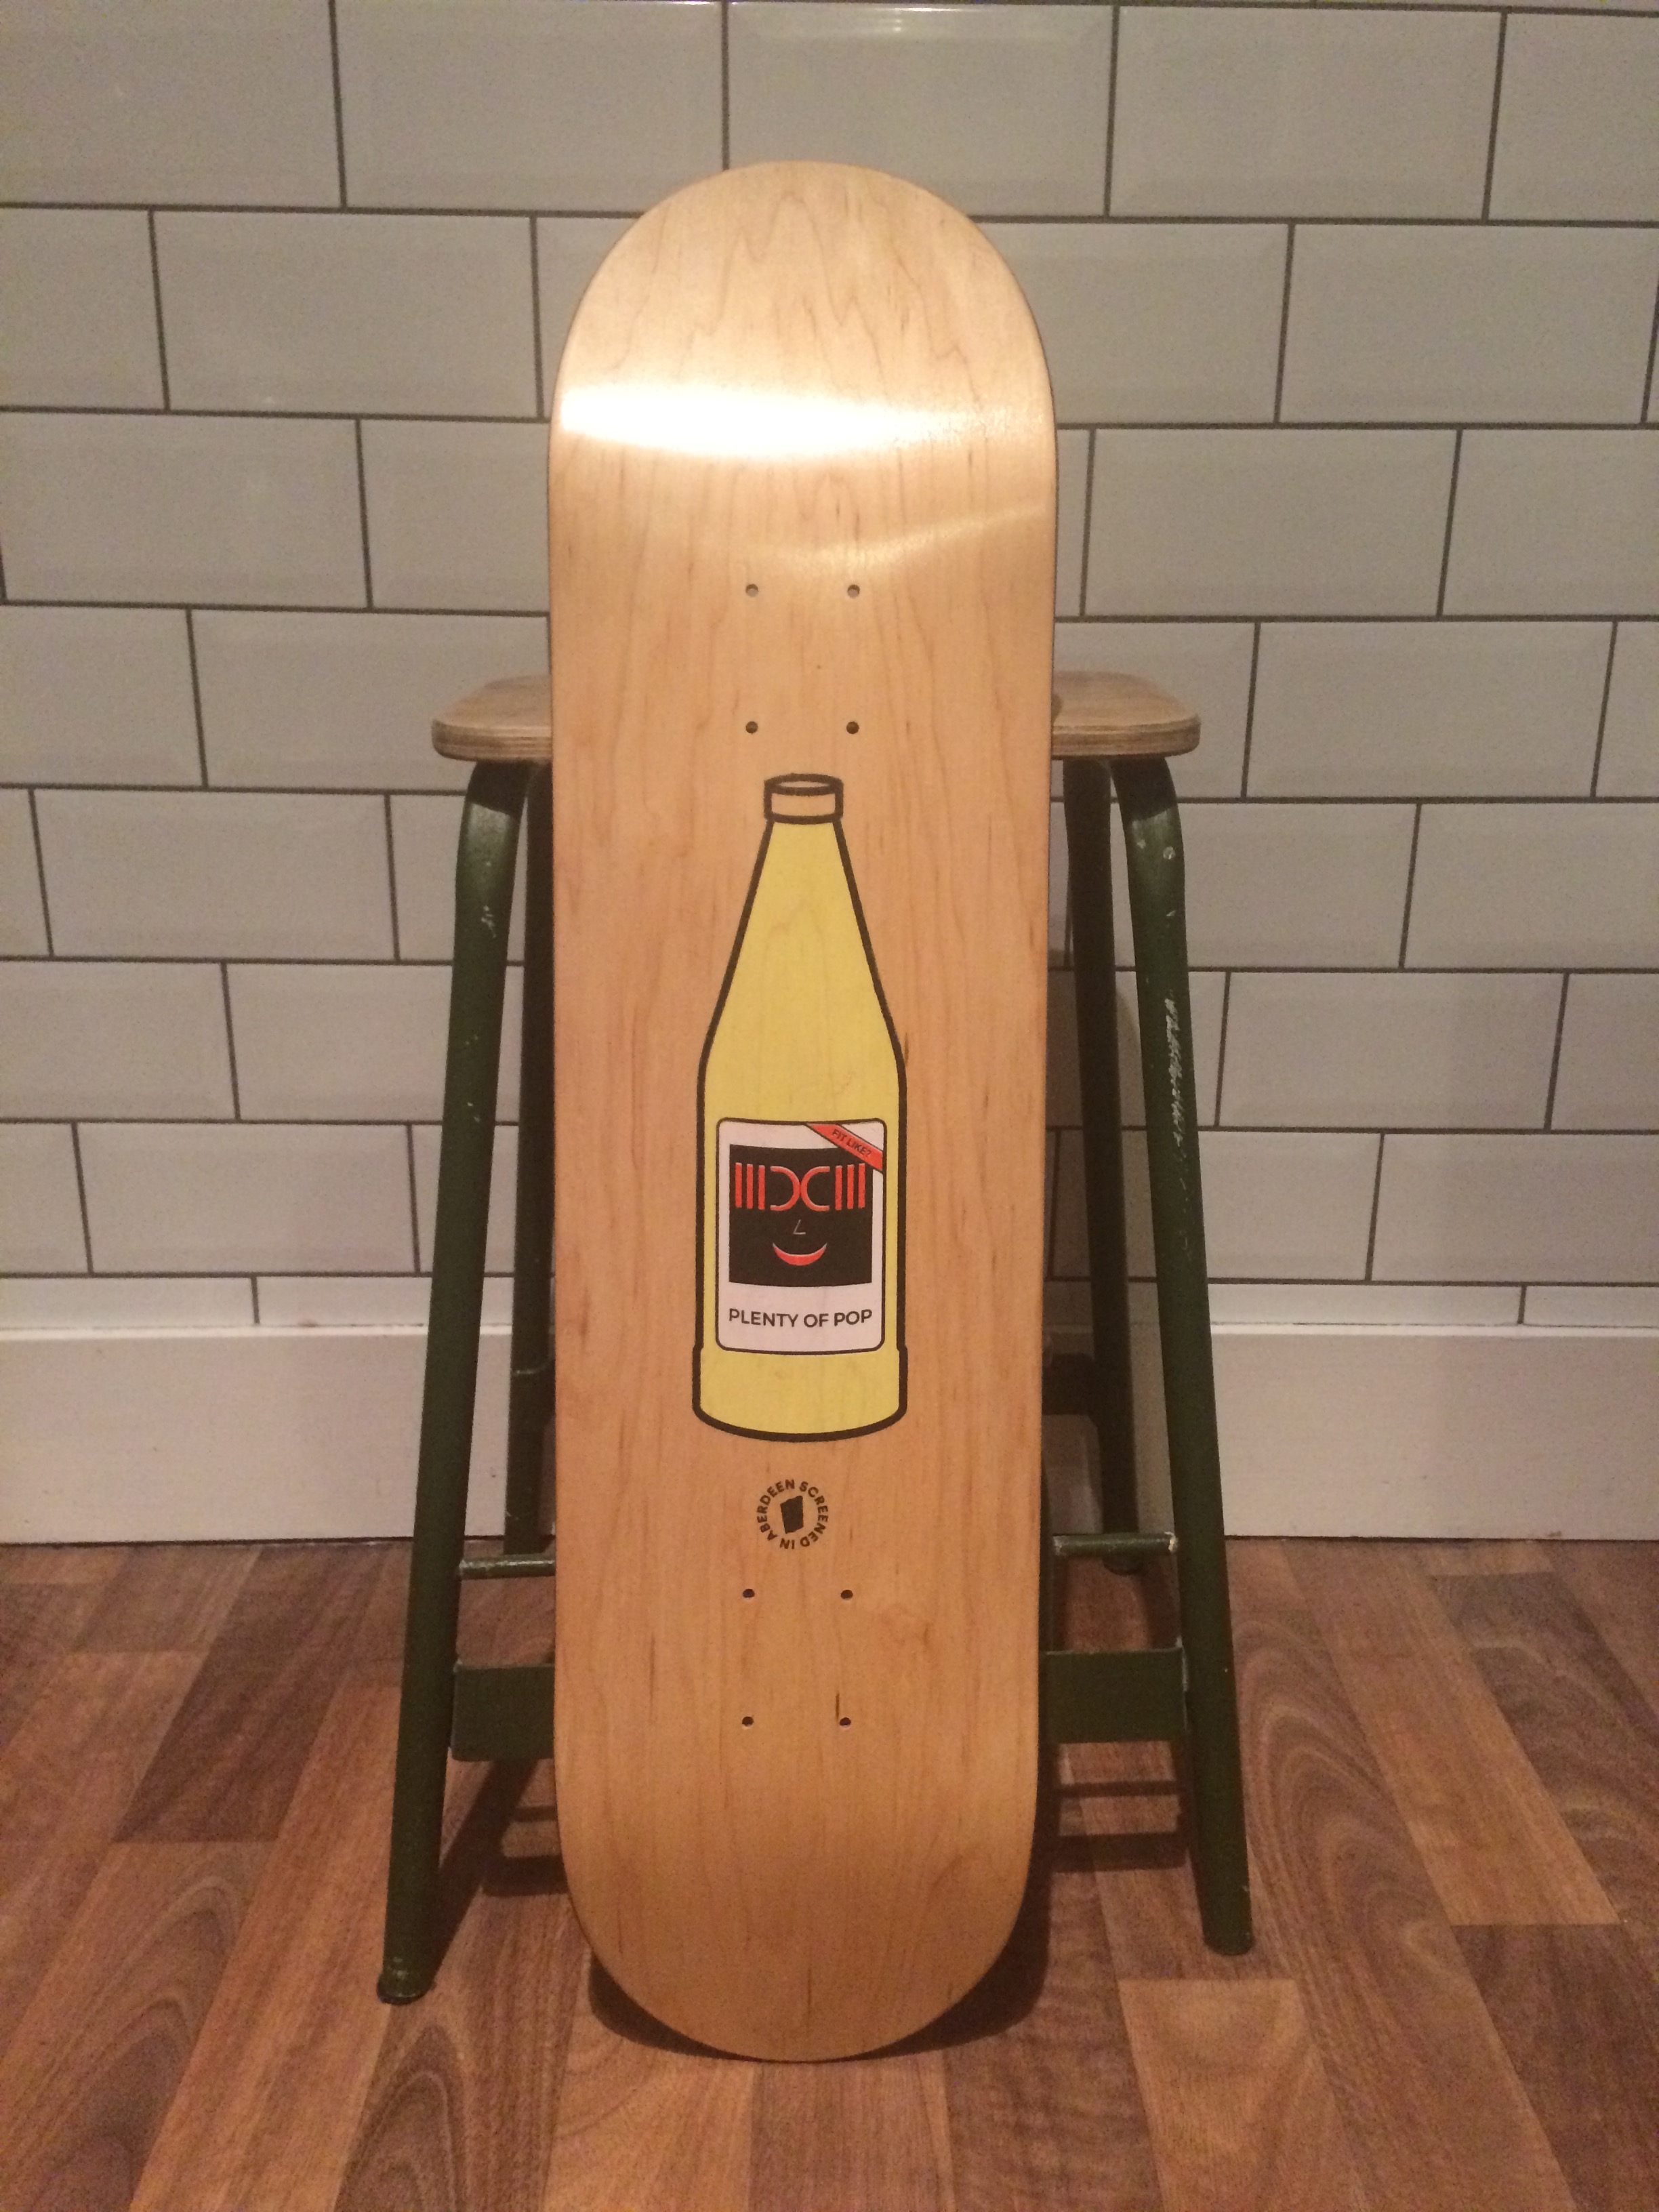
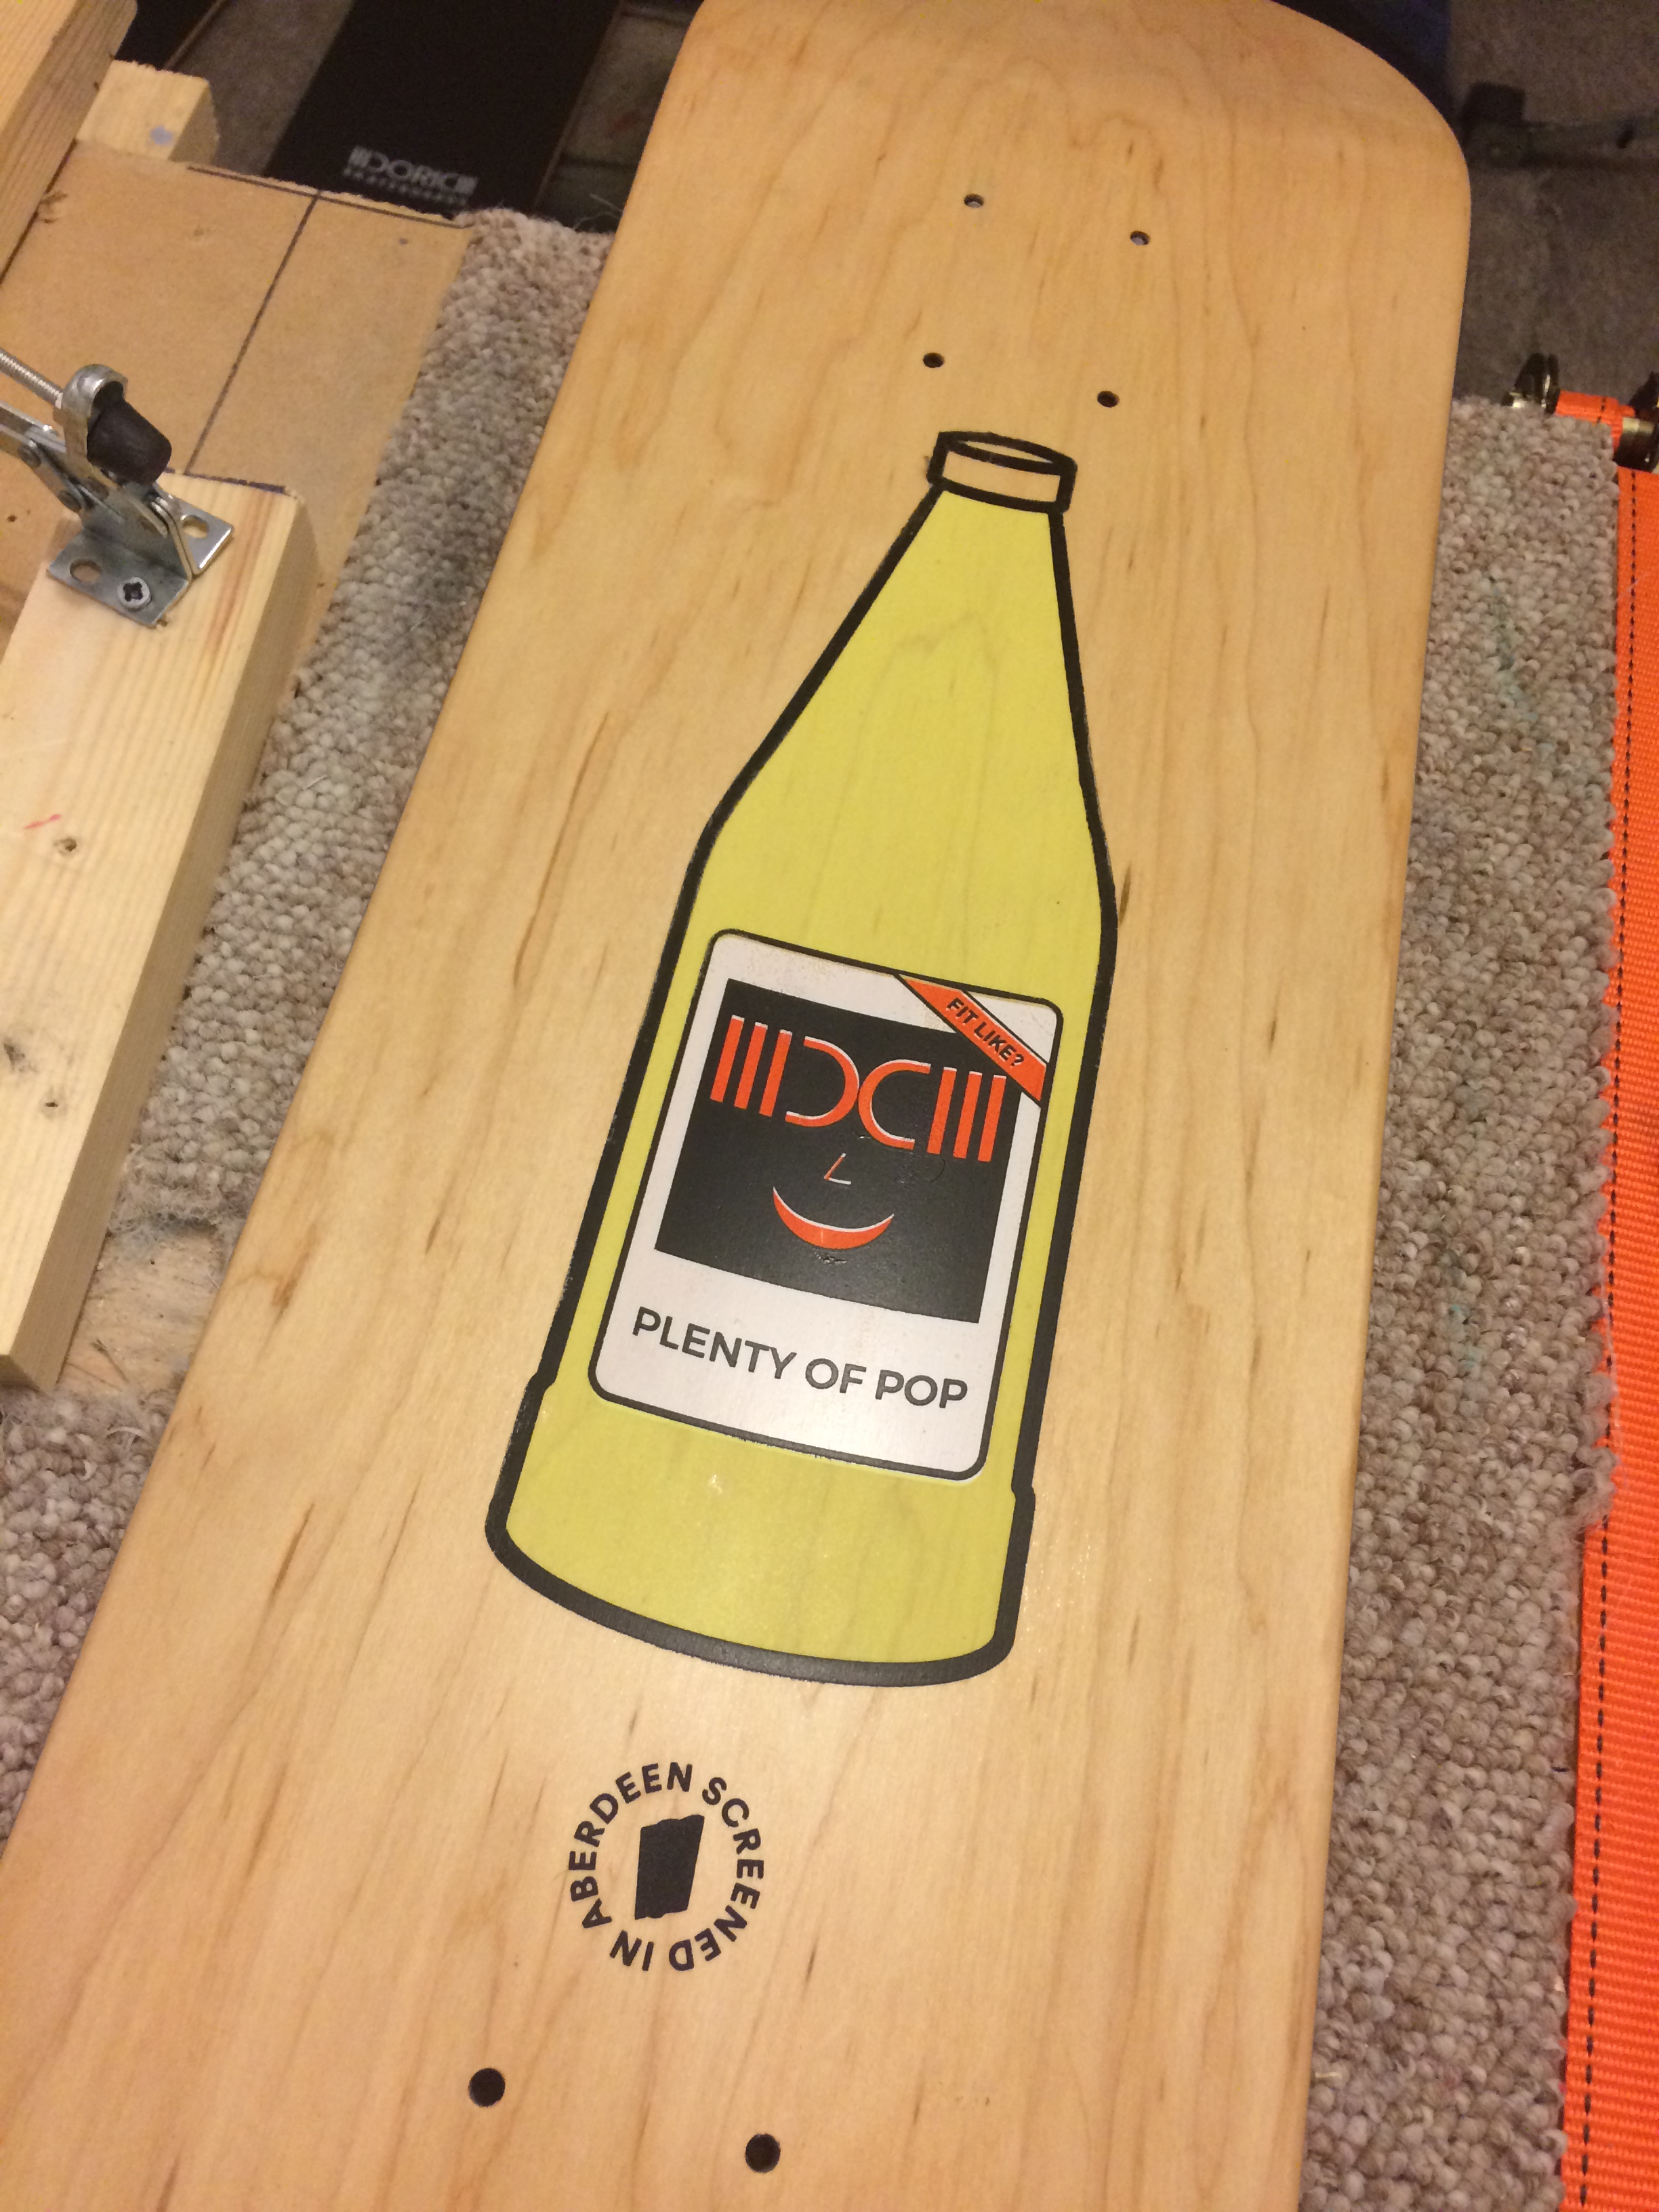
Overlapping images for sure - i'm in the midst of re-doing some of the images so that i can get the next one bang on - Irn Bru colour fyi.
Then i thought - why can't my squeegee be curved?
So i chopped one up and......it kind of worked a treat!
Still some work to do to make one perfect but its the way forward for me.
Whatever works eh?
Some images below of the process - this doesn't include the ones of me crying when i messed things up..look out for the one i did upside down. Ha! : )